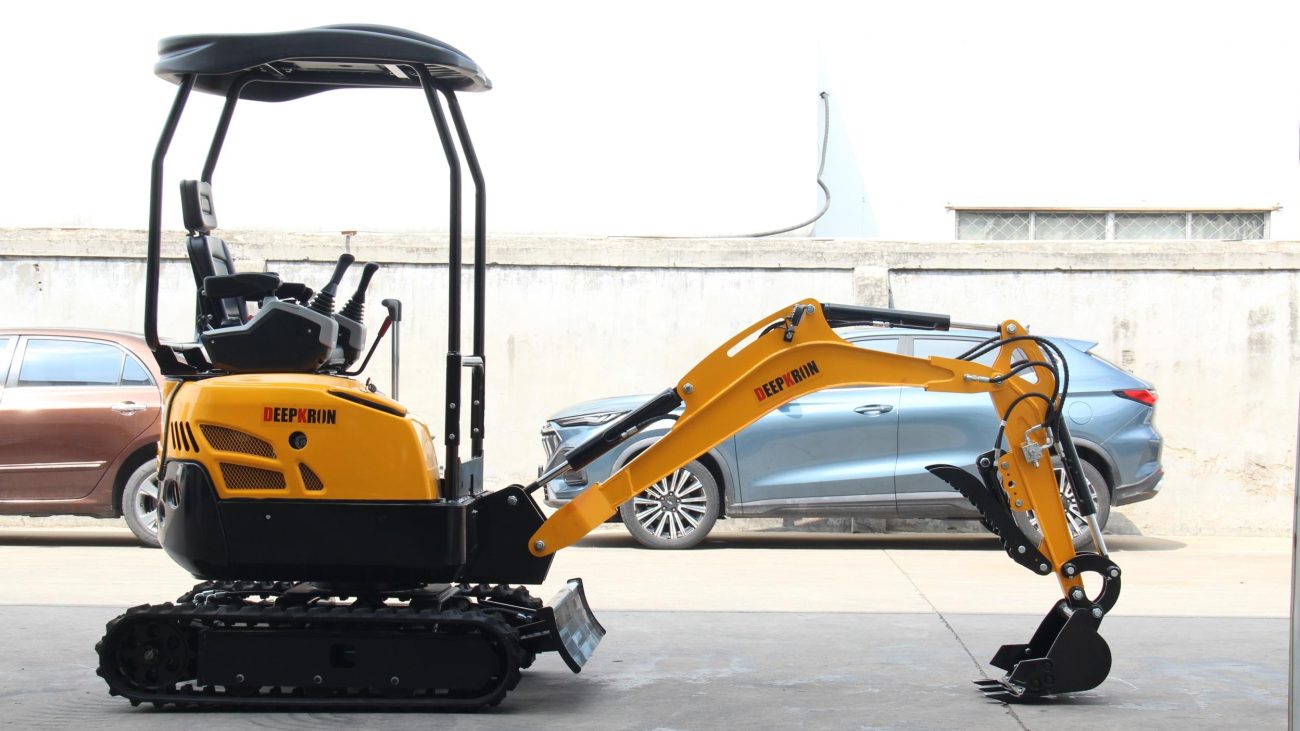
You can change tracks on your DeepKron mini excavator easily. The small excavator design lets you work in small spaces. This also makes the job simple. Before you start, look at the checklist for your mini excavator. Gather all the tools you need. Safety is most important when you work on any excavator. DeepKron mini excavator machines give you power and flexibility for any job. Always use your checklist and check your compact excavator before you begin. Each compact excavator in the DeepKron group helps you finish jobs fast.
Key Takeaways
Always begin with a safety checklist. Gather the right tools before you work on your DeepKron mini excavator.
Lift the excavator the right way. Use approved jacks and blocks. This helps stop accidents when you change the track.
Release the track tension slowly. Follow the manufacturer’s rules. This keeps parts safe and makes removing the track easier.
Line up the new track over the sprocket and idler. Fit it in place. Adjust the tension so your machine works well.
Check the track tension often. Clean off debris and look at the parts. This helps your excavator last longer and work better.
Preparation
Pre-Start Checklist
You should always use a pre-start checklist before you work. This helps you stay safe and avoid problems. First, check if all safety guards are on the machine. Look at the oil, fuel, and coolant levels. Check your mini excavator for any damage or worn parts. Test the emergency stop to see if it works. Make sure you have all the tools you need. Read the operating manual and learn the mini excavator controls. Look for warning lights or error messages on the screen.
Tip: Write down operator names, equipment details, and hour meter numbers. This helps you keep track of maintenance and how much you use the machine.
A good checklist also looks at your work area. Check for holes, trash, or anything that could cause problems. Write down any issues and fix them before you start. Doing this helps you work safely and keeps your compact excavator in good condition.
Tools and Safety Gear
You need the right tools and safety gear for this job. Get a 19 mm open-end wrench, a chisel bar, and a grease gun. Use crawler jacks or hydraulic jacks to lift the machine. Always wear gloves, safety glasses, and steel-toed boots. Turn off the mini excavator before you start. Lift the safety lever so the machine does not move by accident. Having another person help you can make things safer and easier.
Note: Using safe methods and the right tools helps stop injuries and damage to your compact excavator.
Work Area Setup
Get your work area ready before you begin. Pick a flat, steady place with enough room to move around your mini excavator. Take away any clutter, tools, or things that could block your way. Make sure there are no chemical or electrical dangers. Check that all walkways are clear and exits are easy to reach. Look at your equipment and see if all safety features work. Make sure there is enough light and fresh air.
Keeping your workspace clean and checking it often helps you stay safe and work well with your compact excavator.
Lifting the DeepKron Mini Excavator

Positioning the Excavator
First, put your excavator on flat, strong ground. This keeps you safe and helps your mini excavator work better. Always look for holes, loose dirt, or trash in the area. If you find any dangers, clean them up before starting. Make the undercarriage as wide as it can go. Put the backfill blade down on the ground. These steps help your compact excavator stay steady. Keep the tracks straight and do not park near edges or hills. If you must work on a hill, point the tracks up and down the slope. This keeps the center of gravity balanced and lowers the chance of tipping.
Tip: Lifting from the front of the excavator lets you lift more than lifting from the side.
Using Jacks or Blocks
You need the right tools to lift your mini excavator safely. Use hydraulic jacks or crawler jacks that meet ASME B30.1 rules. These jacks are made for heavy machines like your compact excavator. Never use car jacks or blocks that are not made for this job. Put the jacks under strong parts of the frame. Lift the excavator slowly and watch for any movement. You can also use the blade and bucket to help lift the machine. Push the blade into the ground, then use the bucket to lift the front. Always test the lift by raising the machine just a little first. This helps you check if it is steady before going higher.
Use wooden blocks to hold up the excavator after lifting.
Make sure the blocks are strong and on solid ground.
Never go under the machine unless it is fully supported.
Securing the Machine
After lifting, you need to make your excavator safe. Turn on the safety lever so it cannot move by accident. Set the parking brake and check that the machine cannot roll. Keep the load inside the safe working area. Do not stretch the boom out too far, or you will not be able to lift as much. Always look at the excavator’s load chart to make sure you are safe. Never go over 75% of the top lifting weight. This keeps you and your deepkron mini excavator safe. If your machine has extra parts like buckets or thumbs, add their weight to your numbers. Work slowly and do not make quick moves. A safe compact excavator helps you change tracks without worry.
Track Removal
Release Track Tension
You must release the track tension before you remove the old track. This step keeps you safe and protects your mini excavator from damage. Start by parking your excavator on flat, stable ground. Use the blade and boom to lift the machine. Push the blade down first to raise the back end. Then, push the boom and bucket down to lift the front. If your excavator does not have a blade, rotate the cabin 90 degrees toward one track and use the boom and bucket to lift.
Lock the Pilot Shutoff Lever. This prevents any accidental hydraulic movement. For extra safety, place blocks under the frame. Next, check the type of bottom roller on your excavator. You need to know if it is single flanged inner or outer. This helps you measure the track sag correctly. Measure the sag between the bottom roller and the rubber track. The sag should be between 10-15 mm (0.4-0.6 in).
Find the grease valve access hole on the track frame. Remove the cover. Turn the grease valve counterclockwise. Grease will come out of the outlet. This action loosens the track tension. If you need to tighten the track later, use a grease gun to pump grease through the nipple. Rotate the tracks forward and backward for about 30 seconds. Check the sag again to make sure the tension is correct.
Tip: Always follow the manufacturer’s guidelines for track tension. Proper tension keeps your excavator running smoothly and extends the life of your tracks.
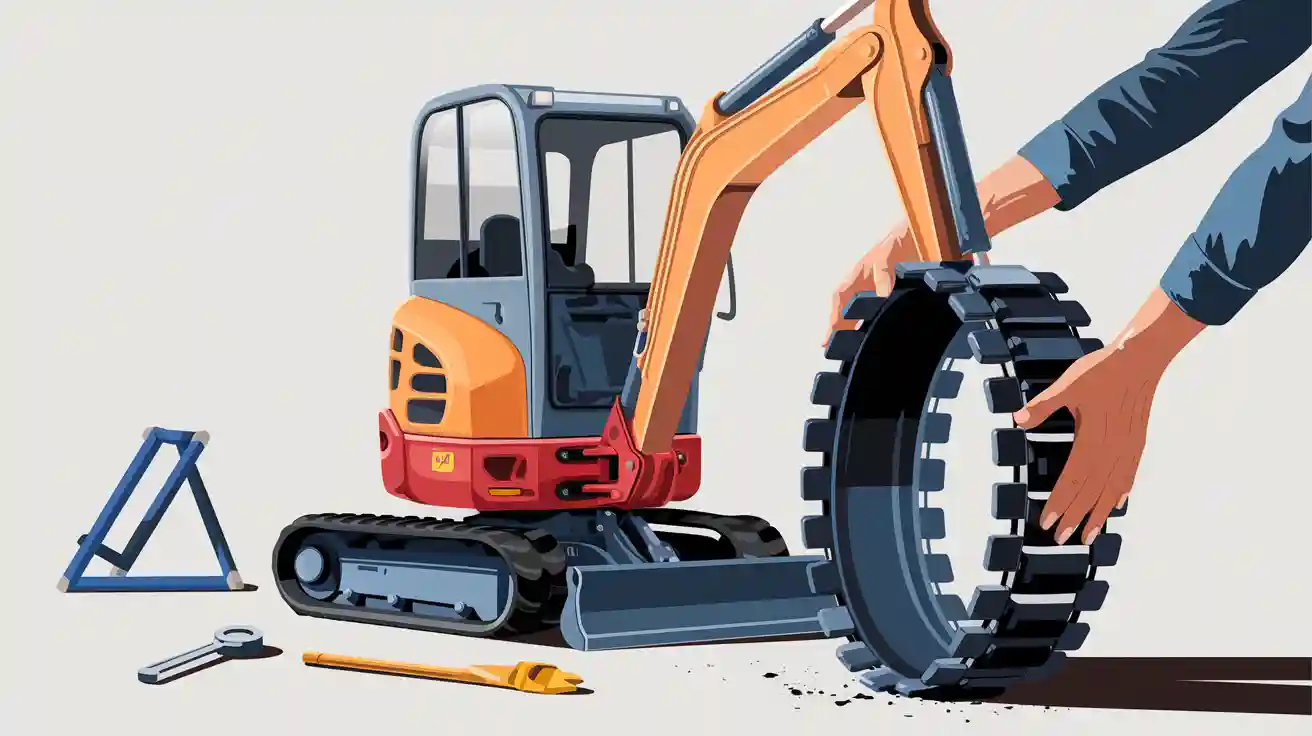
Remove Old Track
After you release the tension, you can remove the old track. Lift the excavator high enough so the track hangs freely. Make sure the machine is stable and secure. Use a chisel bar to help slide the track off the sprocket and idler. Start at the top of the sprocket and work the track off slowly. You may need to rotate the track by hand to free it from the rollers.
If the track feels stuck, check for debris or dirt inside the track system. Remove any objects that block the track. Work with a partner if possible. This makes the job safer and easier. Always keep your hands and feet clear of pinch points.
Removing the old track may take some effort. Stay patient and use steady pressure. Never force the track off with sudden movements.
Troubleshooting
You may face some common issues during track removal. Misaligned track tension often causes the track to become loose, stuck, or bind. This problem affects movement and can cause early wear. Debris buildup inside the track system also restricts mobility and makes removal harder.
Adjust the track tension if you notice the track is too tight or too loose.
Clear out any dirt, rocks, or debris before you try to remove the track.
Check for damaged rollers or sprockets that may block the track.
Regular maintenance and careful monitoring help you avoid these problems. When you keep your excavator clean and adjust the tension as needed, you prevent breakdowns and costly repairs. Proper tension and debris removal also help your mini excavator work better and last longer.
If you run into trouble, stop and inspect the area. Taking time to fix small issues now saves you time and money later.
Track Installation
Align New Track
You need to align the new track before you install it on your excavator. Start by lifting the track and placing it as close as possible to its correct position. Use your hands or a pry bar to guide the track. If the track does not line up, place a pry bar under the side that is out of place. Ask your helper to move the track slowly using the mini excavator controls. This action helps push the track into alignment.
Follow these steps for best results:
Lift and push the track to get it close to the right spot.
Place a pry bar under the misaligned side.
Move the track slowly until it drops into the bottom space.
Remove the pry bar and run the track in both directions to check alignment.
Listen for clicks and look for proper placement.
Adjust the track tension by unscrewing the grease intake valve. Use a grease gun to pump grease until the track sits 1 to 2 inches from the center roller.
Check your equipment manual for the correct tension. Test the track by running the excavator forward and backward.
Tip: Always wear gloves and safety glasses during this process. Proper alignment prevents early wear and keeps your excavator running smoothly.
Fit Over Sprocket and Idler
Once you align the track, you need to fit it over the sprocket and idler. Place the new track around the sprocket first. Make sure the sprocket teeth fit between the links of the track. Pull the other side of the track over the idler. Use a metal bar or Track Bar Repair Tool to help lift the track over the undercarriage frame.
Follow these techniques for a secure fit:
Position the track around the sprocket and idler.
Guide the track with a pry bar to seat it correctly.
Check that the sprocket teeth engage the track links.
Add grease to the tensioner fitting to tighten the track. Aim for a slight sag in the middle.
Move the excavator forward and backward to make sure the track stays in place.
Recheck and adjust the tension as needed.
A good fit over the sprocket and idler keeps your excavator safe and ready for work. Always check the track tension by measuring the distance between the undercarriage and the inside of the track. The track should not be too tight or too loose.
Mini Excavator Operation Tips
You can improve your mini excavator operation by following expert tips. Choose the right rubber tracks for your job and terrain. This choice lowers maintenance costs and reduces wear. The right tracks also help your excavator last longer and give you a better return on your investment.
Use these techniques to get the best results:
Match the tracks to your project, such as construction, landscaping, or snow removal.
Replace both tracks at the same time to keep traction balanced and reduce fuel use.
Protect job site surfaces by using tracks that do not leave deep marks or grooves.
Improve safety by picking tracks that grip well on wet, muddy, or icy ground.
Consult professionals and use original equipment parts for the best fit and durability.
Note: Regularly check track tension and alignment. This habit prevents misalignment, early wear, and damage to your excavator. Good mini excavator operation depends on careful maintenance and the right techniques.
Adjustment and Final Checks
Adjust Track Tension
After you install the new track, you must adjust the tension for your excavator. Proper tension keeps your machine running smoothly and helps you reach the right digging depth every time. Use a grease gun to add or release grease at the tensioner fitting. Check the sag in the track by measuring the distance between the bottom of the track and the top of the roller. The track should have a slight sag, not too tight or too loose.
Regularly check track tension to keep your excavator in top shape.
Inspect tracks daily for correct tension.
Remove debris from tracks after each shift to prevent damage.
Monitor wear on sprockets, rollers, and idlers as part of your maintenance routine.
Maintain proper track tension and cleanliness to extend the life of your excavator and reduce costs.
Tip: Always follow the manufacturer’s guidelines for adjusting track tension. This step supports safe operation techniques and helps you achieve the best digging depth.
Performance Check
Once you finish adjusting the track, test your excavator. Start the engine and move the machine forward and backward. Listen for any strange noises and watch the track as it moves. Make sure the track stays in place and does not slip off the sprocket or idler. Test the digging depth by lowering the bucket and checking if the excavator reaches the required depth for your project. Repeat this process on both sides to confirm even performance.
If you notice any issues, stop the operation and inspect the tracks again. Quick checks help you avoid bigger problems and keep your excavator ready for work.
Maintenance Tips
You can keep your excavator in great condition by following a regular maintenance schedule. Use these techniques to spot early signs of track wear and protect your machine’s digging depth:
Inspect fluid levels, undercarriage parts, and greasing points daily.
Keep a log of all safety and maintenance checks.
Clean the undercarriage after each use to remove dirt and rocks.
Lubricate grease points every 50 to 100 hours.
Watch for loose bolts, worn rollers, or damaged sprockets.
Use wider turns and avoid harsh ground to reduce track wear.
Staying on top of maintenance helps you get the most out of your excavator, maintain consistent digging depth, and ensure smooth operation for every job.
You can change DeepKron mini excavator tracks if you follow each step. Begin with your checklist to stay safe and get your tools ready. After you finish, use the checklist again to make sure all parts work. Doing daily checks and regular care helps your machine last longer. You can share what you learned or ask questions below. Your ideas and questions help other people with their DeepKron mini excavator jobs.
FAQ
How often should you check track tension on your DeepKron mini excavator?
You should check track tension every 50 operating hours. This habit helps you keep your machine running smoothly and protects the undercarriage from early wear.
What affects the digging depth of your mini excavator?
Track condition and tension both affect the digging depth. If tracks are loose or worn, you may not reach the correct digging depth for your project. Always inspect tracks before you start work.
Can you improve digging depth by adjusting track tension?
Yes, you can improve digging depth by keeping track tension within the recommended range. Proper tension lets your DeepKron mini excavator reach the right digging depth and work efficiently on any job site.
What signs show you need to replace your mini excavator tracks?
Look for cracks, missing lugs, or deep cuts in the rubber. If you notice the machine struggles to move or loses traction, you should inspect and replace the tracks soon.