Using a mini excavator hammer the right way keeps you safe. It also helps you finish jobs faster. Taking care of your equipment makes it last longer. It will also work better. For example, excavators can last about 9,800 hours with good care.
Taking care of your equipment, like greasing and checking parts, stops breakdowns. It also keeps you safe.
Equipment Type | Typical Lifespan (hours) | Notes on Maintenance Impact |
|---|---|---|
Excavator | ~9,800 | Good care makes it last longer and need fewer repairs |
A mini excavator hammer works best when you follow these steps every day. It will also stay reliable.
Key Takeaways
Look at your mini excavator hammer and machine every day. Check for leaks, cracks, or loose parts. This helps stop breakdowns and keeps you safe.
Put grease on the hammer every two hours. Do this more often if the job is hard. Grease helps keep the parts cool and working right.
Pick the correct size hammer for your job. Keep the hammer straight at a 90-degree angle. This stops damage and helps you work better.
Always wear safety gear like glasses, ear protection, gloves, and boots. Wear these every time you use the hammer.
Read the operator’s manual and use the quick checklist before each shift. This keeps your equipment working well and helps you stay safe.
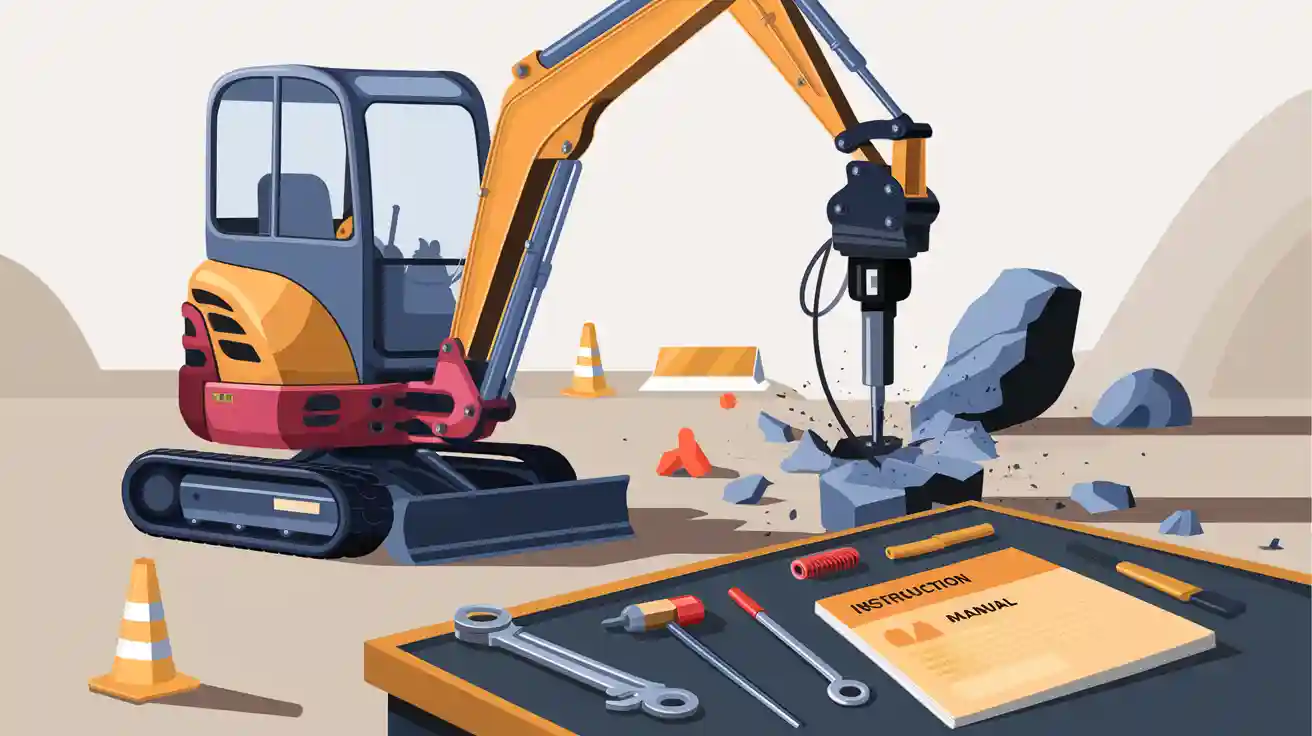
Mini Excavator Hammer Overview

What Is a Mini Excavator Hammer
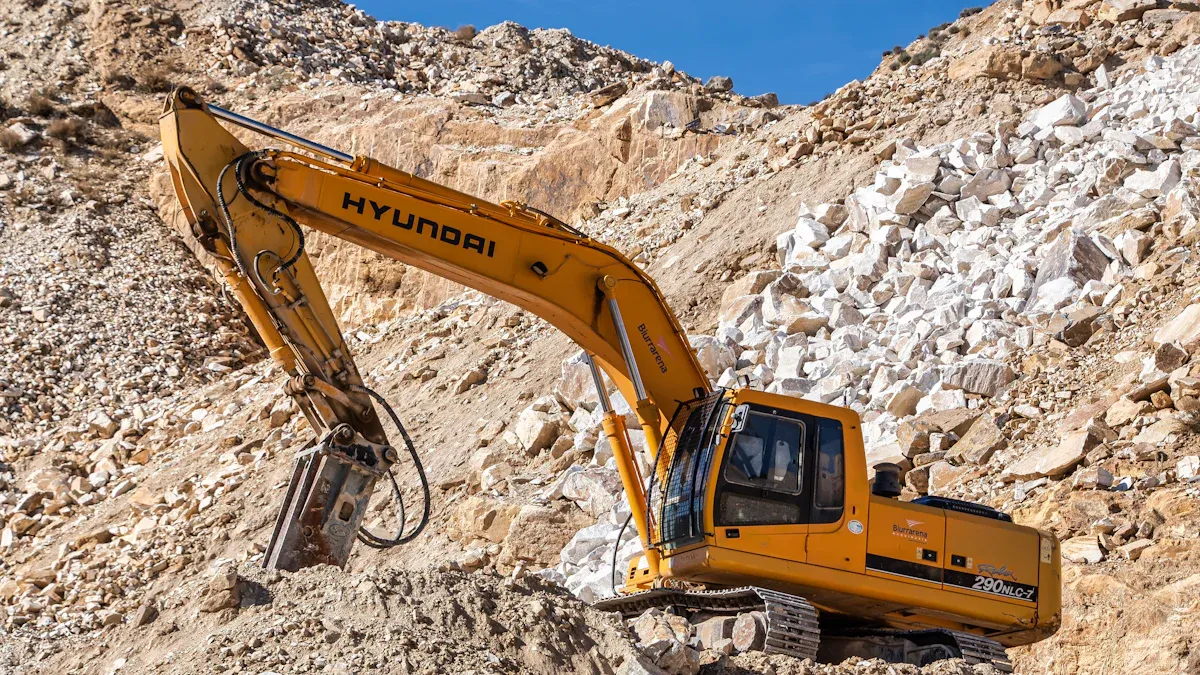
A mini excavator hammer helps break hard things like concrete or rock. You attach it to your mini-excavator. It uses hydraulic power to hit hard. Inside, a piston moves up and down in a cylinder. Each hit breaks tough surfaces fast and safely.
Mini excavator hammers are special because they use smart systems. They can change how hard and fast they hit, depending on the job. Many hammers lower noise and shaking, which keeps you safer and more comfortable. Some hammers use special tech to track how well they work and when they need care.
Here is a table with common mini excavator hammer specs:
Specification / Feature | Details / Values |
|---|---|
Blows per Minute | 275 to 450 |
Minimum Operating Weight | 8778 lb (3990 kg) |
Rated Flow (Minimum) | 58 gal/min (220 l/min) |
Rated Flow (Maximum) | 79 gal/min (300 l/min) |
Minimum Operating Pressure | 1885 psi (13000 kPa) |
Maximum Operating Pressure | 2320 psi (16000 kPa) |
Tool Shaft Diameter | 7.1 in (180 mm) |
Performance Features | Adjustable piston speed, vibration reduction, noise suppression, automatic shut off |
Maintenance Features | On-board autolube, easy bushing replacement, quick access to maintenance areas |
Applications | Demolition, construction, quarry, road construction, trenching, concrete and rock breaking |
Tip: Always read your mini-excavator’s manual. Make sure you pick the right hammer for your machine.
Main Uses
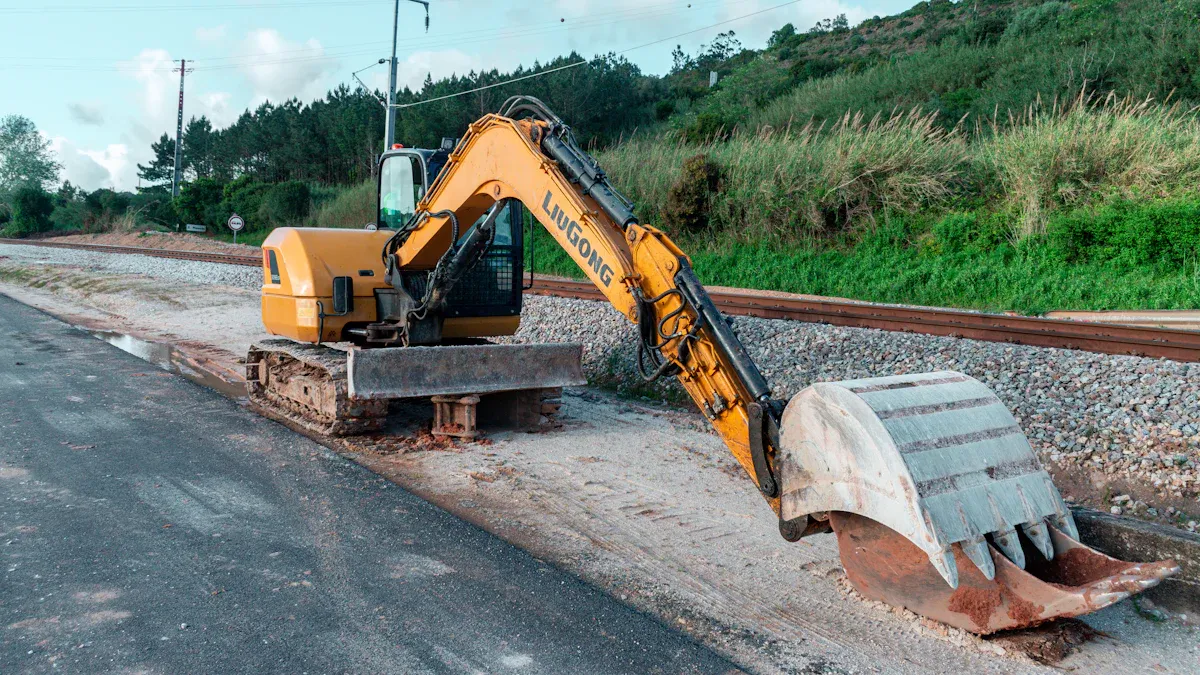
Mini excavator hammers are used in many jobs. They help with demolition, building, and roadwork. You can use them to break old concrete, dig trenches, or move rocks. Their small size lets you work in tight spots where big tools cannot go.
More people want mini excavator hammers now. In 2024, the market for these tools was $0.93 billion and is growing fast. Companies like these hammers because they save time and work. In demolition, hammers are used for 68% of jobs. In North America, 44% of demolition projects use hammers, and 63% of excavator tools are used for site work.
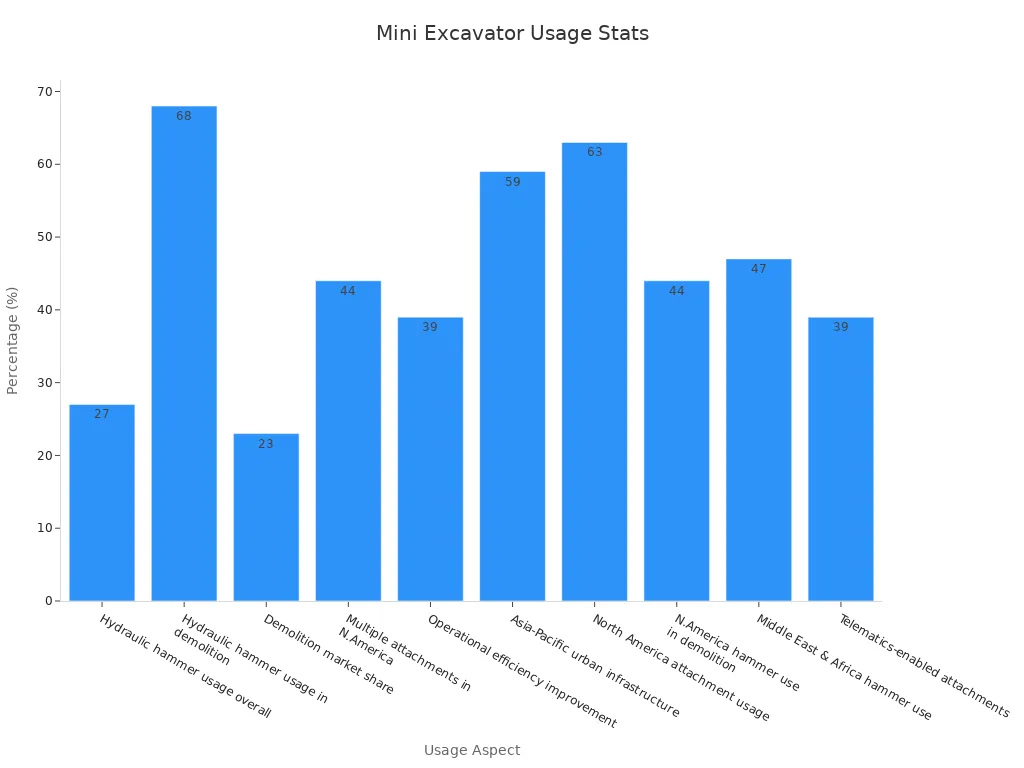
Mini excavator hammers help you work up to 39% faster. Many new hammers have quick couplers, so you can change tools fast. These features help you finish jobs on time and keep your mini-excavator working longer.
Operation Guide
Pre-Operation Checks
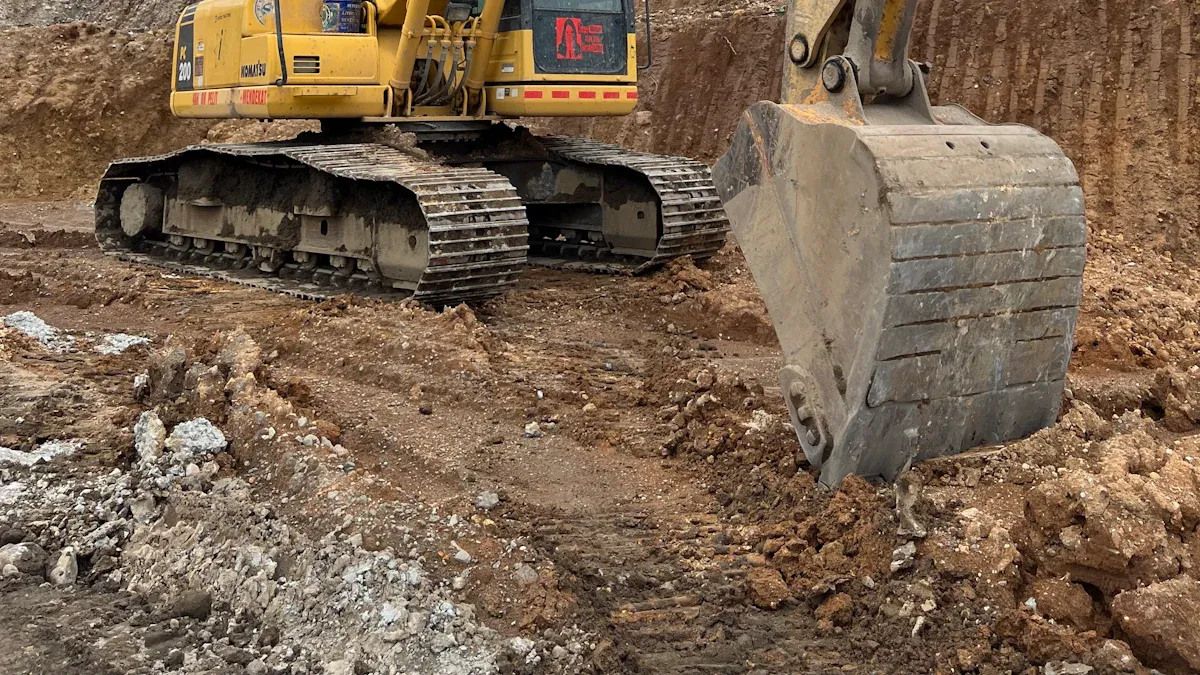
Before you start your mini excavator, always check your hammer and machine. Look for leaks, cracks, or loose bolts on the hammer. Make sure the hydraulic hoses connect tightly and show no signs of wear. Check the tool shank and bushings for damage. If you see worn parts, replace them before you work.
Inspect the excavator’s fluid levels. Hydraulic oil, engine oil, and coolant should be at the right levels. Clean the area around the hammer and remove any dirt or debris. This helps prevent damage and keeps your tools working well.
Tip: Use proper lifting equipment when you move or service the hammer. This keeps you safe and protects your equipment.
Keep the operator’s manual close. You may need to check it for settings or troubleshooting.
Controls and Instrument Familiarity
You must know your excavator’s controls before you use the hammer. Each machine has its own layout. Learn where the main levers, pedals, and switches are. Find the controls for the hammer attachment. Some excavators have a special button or lever just for hammers.
Check the instrument panel. Look for warning lights or error codes. These can tell you if the hammer or excavator needs attention. Many new hammers have features like auto shut-off or vibration reduction. Learn how to turn these on and off.
Note: Always keep the operator’s manual nearby. It shows you what each control does and how to use the hammer safely.
Starting and Stopping
Start your excavator by following the steps in the manual. Warm up the engine for a few minutes. This helps the hydraulic oil flow well. When you are ready to use the hammer, make sure the area is clear.
When you stop working, follow these steps to reduce wear on your hammer and excavator:
Lower the excavator arms and attachments flat on the ground.
Stop the engine and remove the key or lock the keyless panel.
Engage the parking brake.
Move all controls to a neutral or locked position.
Avoid letting the engine idle for too long. This reduces wear on hydraulic hammers.
Use machines with auto idle or auto stop features if possible. These save fuel and reduce wear.
Inspect hammer parts like hose ends, ports, retaining pins, tool shanks, bushings, and hoses often.
Safety Reminder: Never leave the excavator running while you check or service the hammer.
Proper Use Techniques
Use your hammer the right way to make it last longer. Pick the correct size hammer for your excavator. Using the wrong size can cause damage. Keep the hydraulic flow and pressure within the limits set by the manufacturer.
Position the hammer at a 90-degree angle to the surface. Move the hammer often during use. This prevents the tool from getting stuck and reduces wear. Do not use the hammer as a pry bar. Only use it for breaking, not for lifting or moving objects.
Grease the hammer often. Steel parts rub together and get hot. Greasing every two hours, or more in tough jobs, keeps the hammer working well. Stick to the maintenance schedule. Check and replace bushings, do annual flow tests, and use sharp demolition tools.
If the hammer does not break material after 30 seconds, stop and try a larger hammer. Running too long without progress can damage the tool.
Bring the hammer to the shop once a year for a full check.
Using the right techniques and regular care helps your hammers last longer and work better.
Maintenance
Daily Maintenance
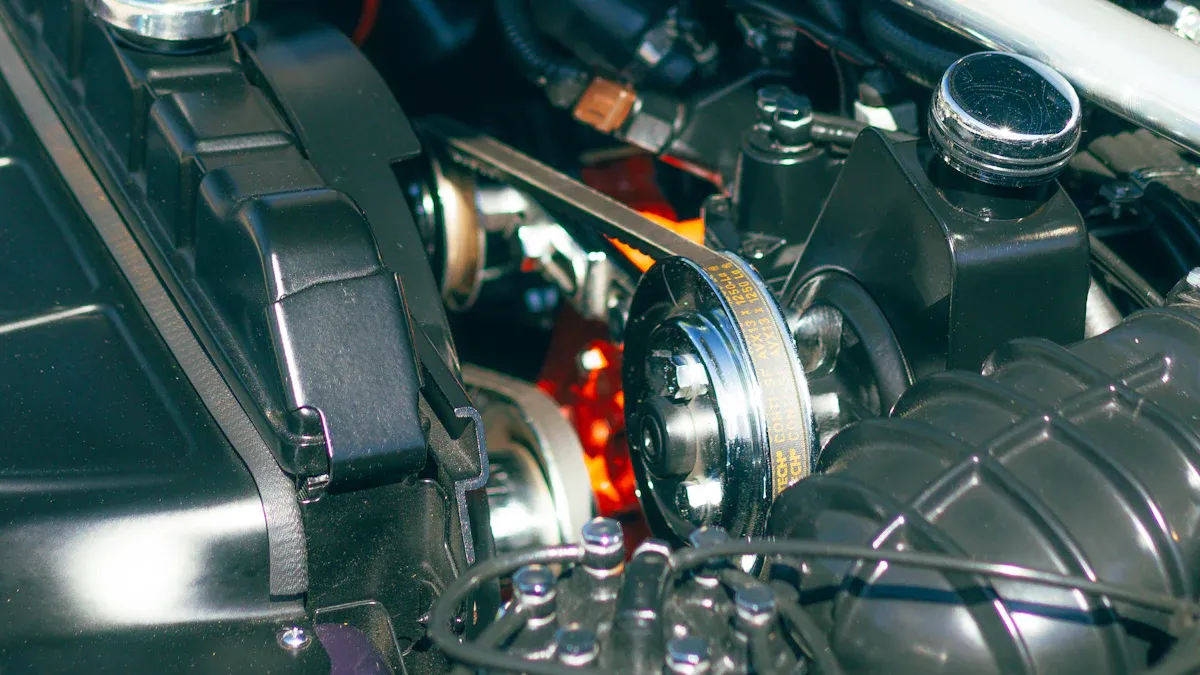
Check your mini excavator and hydraulic hammers every day. This helps you find problems early and keeps you safe. Walk around your machine before you start work. Look at the hydraulic cylinders, rods, and seals for leaks or damage. Check the hammer attachment and coupler for rust or cracks. Open the side hood and look at the hydraulic tank, hoses, and joints. Make sure nothing is leaking or loose.
Look at the fuel water separator for water. Check the cooling system for leaks and the right coolant level. Grease all pivot points on your hydraulic hammers to stop them from wearing out fast. Clean the engine area and make sure the oil cap is tight. Look at the belts for any signs of wear. Make sure fuel and hydraulic oil levels are what the manufacturer says. Clean the air filter every week, or more if it is dusty. Check the tracks for dirt and fix the tension if needed.
Tip: If you work where it is hot or dusty, check your machine more often. This helps your hammer and hydraulic hammers last longer.
Greasing Hydraulic Hammers
Greasing is very important for hydraulic hammers. Grease stops parts from rubbing too much and getting too hot. Use high-quality, high-temperature molybdenum grease or chisel paste with copper and graphite. These greases work well even when the hammer gets very hot.
Aspect | Details |
|---|---|
Grease Type | High-temp molybdenum grease or chisel paste with copper and graphite |
Greasing Interval | Every 2 hours, or more often in dusty or tough jobs |
Operating Conditions Impact | Grease more often in dry, dusty, or hot environments |
Greasing Technique | Hold the breaker vertical and apply down pressure to push grease into tool-bushing gaps |
Amount of Grease | Fill until grease comes out the bottom of the bushing |
Signs of Insufficient Grease | Overheating, shiny tool shank, or seizing bushings |
Benefits | Less friction, cooler operation, longer hammer life |
Grease your hydraulic hammers every two hours, or more if you see shiny spots or hear squeaks. If you use big hammers, you can use an auto-lube system for steady grease. Even with auto-lube, check the grease level by hand every few hours. Greasing the right way keeps your hydraulic hammers working well and stops costly repairs.
Filter and Oil Changes
Changing filters and oil keeps your hydraulic hammers and excavator in good shape. Old or dirty oil can hurt your machine and cause breakdowns. Follow the manufacturer’s schedule for oil and filter changes. Change engine oil and filters every 100 to 500 hours. Replace fuel filters every 500 hours or once a year. Clean air filters every week and replace them every 500 hours. Drain and refill hydraulic oil every 1,000 to 2,000 hours. If the oil looks dirty or you work in tough places, change it sooner.
Always use the oil and filters the manufacturer says to use.
Never mix oil brands unless you drain the old oil first.
Keep hydraulic hose ends clean so dust and sand do not get inside.
After about 600 hours, get a full service to check inside parts and keep everything working right.
Changing oil and filters on time helps your hydraulic hammers avoid downtime and last longer. This easy step saves money and stops big repairs.
Wear Parts Inspection
Wear parts on hydraulic hammers need careful checks. These parts are tool bushings, tool retaining pins, and the piston. Look at these parts every day for cracks, shiny spots, or wear. Listen for new noises or changes in how your hammer works. If you see damage, change the part right away.
Lubricate moving parts like bearings and joints to stop friction.
Check hydraulic systems for leaks, low fluid, or dirty oil.
Watch for changes, like slower hammering or more shaking.
Change your maintenance schedule if you work in dusty, wet, or cold places.
Using the right attachments and following the manufacturer’s plan helps your hydraulic hammers last longer. Preventive maintenance can make equipment work better by 30% and save 25% in five years. Skipping checks can lead to repairs that cost half as much as a new hammer in just weeks. Track your hours and follow your maintenance plan to avoid these problems.
Note: Checking your machine and using grease the right way protects the most expensive parts of your hydraulic hammers and keeps your work going.
Troubleshooting
Common Issues
You may notice some common problems when using hydraulic hammers and breakers. Leaks from hoses or fittings often signal trouble. Loose or worn parts can cause strange noises or weak performance. If your hammer does not break material as fast as before, check for worn bushings or tool shanks. Sometimes, the breaker may trip or stop working if you run it too long without progress. Exceeding 20 blows per inch of pile penetration means your hammer might be too small for the job. This can damage both the hammer and the excavator. Always inspect for leaks and check hose and fitting conditions before you start work. Daily walkaround inspections help you catch fluid leaks or irregular noises early.
Tip: Use monitoring technology like KOMTRAX to track equipment health and get alerts for potential issues.
Oil Pressure and Flow
Hydraulic hammers and breakers need the right oil pressure and flow to work well. Low oil pressure can make the hammer hit weakly or not at all. High pressure can cause overheating or damage. If you notice slow hammering or more shaking, check the hydraulic oil level and quality. Dirty oil or clogged filters can block flow and hurt your hydraulic breakers. Always keep hydraulic oil clean and at the right level. Avoid running the hammer below 38 blows per minute for long periods. This can shorten the life of your hydraulic hammers and breakers.
Check for leaks in hoses and fittings.
Make sure fuel lines do not touch the hammer body except at the ends.
Use the two-wrench tightening method to avoid leaks or premature failures.
When to Seek Service
You should seek service if you find cracks, leaks, or worn parts during your checks. If you hear new noises or see a drop in performance, stop and call a technician. Inspect mounting hinges, bucket components, retaining pins, and tools every week or every 10 work hours. Check tool shanks, bushings, and hydraulic hoses every month or every 50 work hours. Service your hammer every year or after 600 work hours to keep it working well. Never ignore warning lights or error codes on your excavator. If you cannot fix a problem with basic checks, let a professional handle it. This keeps your hydraulic hammers and breakers safe and reliable.
Note: Regular inspections and timely service prevent costly repairs and keep your equipment running strong.
Best Practices
Efficiency Tips
You can make your mini excavator hammer work better by doing a few easy things. Start every day by looking over your machine. Check for leaks, loose bolts, and worn parts. This helps you find problems before they get worse.
Keep your operator’s manual nearby. It helps you if you see warning lights or hear strange sounds.
Use the right tool for each job. The right attachment makes your work faster and safer.
Practice using your machine often. Skilled operators make fewer mistakes.
Write down how much fuel you use and how long you use the machine. This helps you notice if something is wrong.
Use tracking software to watch how much you use your machine, how much fuel you use, and when it is not working.
If you follow these tips, you will have less downtime, spend less on repairs, and keep your hammer working well. You also save fuel by moving smoothly and not pushing the hammer too hard.
Here is a table that shows how these good habits help you:
Practice | Benefit |
|---|---|
Daily inspections | Fewer breakdowns |
Correct tool use | Higher productivity |
Operator training | Fewer errors, longer tool life |
Tracking performance | Lower costs, better planning |
Reducing Wear
You can help your mini excavator hammer last longer by stopping wear. Always keep the hammer straight up and down on the surface. This lowers stress and keeps the tool from breaking. Use the right hammer thickness and tip speed for your job. Studies show that a 5 mm thick hammer and about 83.57 m/s tip speed use less energy and wear out slower.
Forged and heat-treated hammers are stronger and last longer. These make the head and shank tougher. Controlling vibration is important too. Less vibration means you do not have to replace parts as often. Some people saw vibration go down from 2.64 mm/s to 1.09 mm/s after upgrades, which made repairs needed less often.
Clean and grease your hammer a lot. Grease keeps parts cool and helps them move well. Change bushings and pins if they look worn. Look for shiny spots or new sounds, as these can mean parts are wearing out.
If you do these things, your hammer and attachments will work better and last longer.
Mini-Excavator Safety
PPE Requirements
You need to wear the right PPE when using a mini-excavator hammer. Safety glasses keep your eyes safe from flying pieces. Ear protection helps protect your hearing from loud sounds. A hard hat keeps your head safe from things that might fall. Gloves help you hold the controls and protect your hands. Steel-toed boots protect your feet if something drops. A high-visibility vest helps others see you at work.
Always look at your PPE before you start. Change any broken gear right away.
Worksite Safety
You must keep your worksite safe when using an excavator. Use cones or tape to show where you are working. Make sure the ground is strong before you begin. Take away loose rocks, tools, or other things that could cause harm. Never let people stand close to the mini-excavator while you use it. Watch out for power lines and wires underground. Ask someone to help watch if you cannot see everywhere.
Follow the safety rules in your excavator’s manual. These rules help stop injuries and protect your machine. Stay focused and do not get distracted while working.
Safety Step | Why It Matters |
|---|---|
Mark work area | Keeps others away from danger |
Check ground stability | Prevents tipping |
Remove hazards | Stops accidents |
Use spotters | Improves visibility |
Emergency Steps
If something bad happens with your mini-excavator, act fast. Turn off the excavator right away if you see smoke, fire, or leaking fluids. Move to a safe place and call for help. Use the emergency stop button if your machine has one. Tell others to stay away from the area.
If someone gets hurt, call for emergency help. Give first aid if you know how. Never try to fix a broken excavator while it is running. Wait for a trained person to check the machine.
Remember: Following the manufacturer’s safety rules can save lives and keep your mini-excavator safe from harm.
Quick Checklist
Use this quick checklist before you start work each day. It helps you stay safe and keeps your mini excavator hammer working well.
🛠️ Daily Pre-Operation
Walk around your machine. Look for leaks or cracks. Check for loose bolts too.
Look at hydraulic hoses. Make sure they are tight and not damaged.
Check the tool shank and bushings. Change worn parts right away.
Look at fluid levels. Check hydraulic oil, engine oil, and coolant.
Clean off dirt and debris from the hammer area.
Read the operator’s manual for any special steps.
🔧 Maintenance Essentials
Grease the hammer every two hours. Grease more if the job is hard.
Use high-temperature molybdenum grease or chisel paste.
Change filters and oil when the maker says to.
Check bushings and pins every day for wear.
Write down service hours and follow your plan.
🚨 Safety First
Wear PPE like safety glasses, ear protection, gloves, a hard hat, steel-toed boots, and a bright vest.
Mark your work area with cones or tape.
Keep people away from the machine.
Watch out for power lines and wires underground.
Know where the emergency stop button is.
Tip: Keep this checklist in your cab or toolbox. Look at it before every shift. This helps you avoid mistakes and saves money on repairs.
Task | How Often | Why It Matters |
|---|---|---|
Inspect for leaks/damage | Daily | Stops breakdowns |
Grease hammer | Every 2 hours | Lowers wear |
Check fluid levels | Daily | Keeps things working |
Wear PPE | Every shift | Keeps you safe |
Mark work area | Every job | Protects others |
Stay alert and follow these steps. You will keep yourself and your equipment safe every day.
You can keep your mini excavator hammer safe by doing a few easy things. Look over your equipment each day. Put grease on the moving parts often. Wear the right safety gear every time you work. Read the operator’s manual before you begin. Use the quick checklist so you do not forget anything important. These habits keep you and your machine safe. Taking care of your hammer means you fix it less and get better work done.
FAQ
How often should you grease your mini excavator hammer?
You should grease your hammer every two hours during use. Grease more often if you work in dusty or hot places. This keeps the tool cool and helps it last longer.
What type of grease works best for hydraulic hammers?
Use high-temperature molybdenum grease or chisel paste with copper and graphite. These types protect your hammer from heat and wear. Always follow the manufacturer’s recommendations.
Why does your hammer make loud or strange noises?
Loud or strange noises can mean loose bolts, worn bushings, or low grease. Stop work and check your hammer right away. Fix any problems before you continue.
Can you use your mini excavator hammer for prying or lifting?
No, you should never use the hammer for prying or lifting. Only use it for breaking materials. Using it the wrong way can damage the tool and cause safety risks.
What should you do if you see a hydraulic leak?
Stop the machine right away. Check the hoses and fittings for damage. Do not use the hammer until you fix the leak. Leaks can cause accidents and harm your equipment.