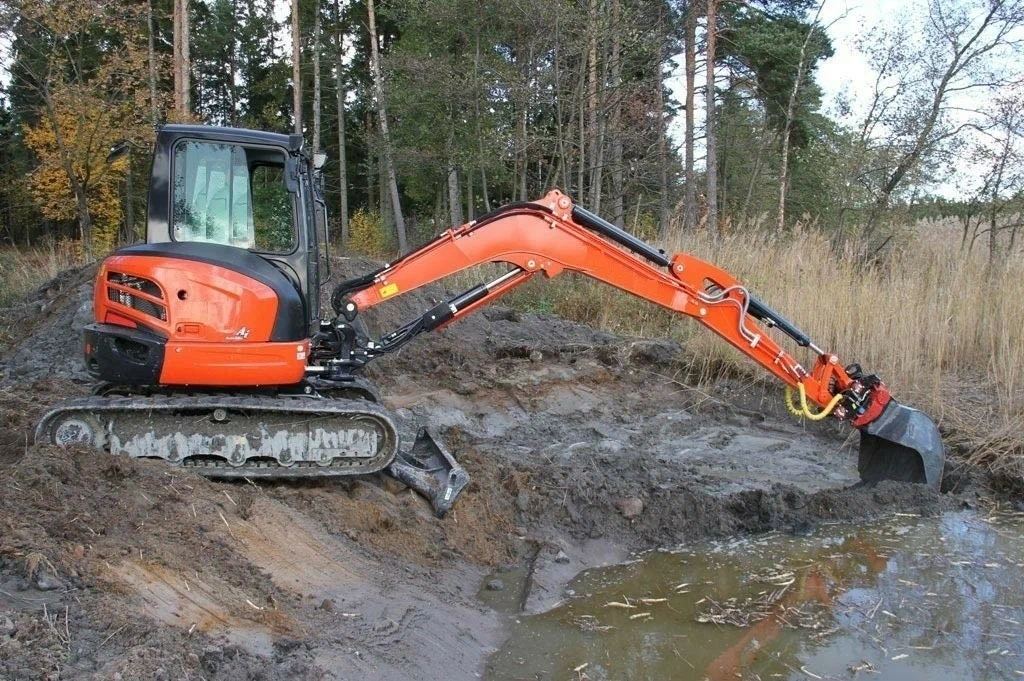
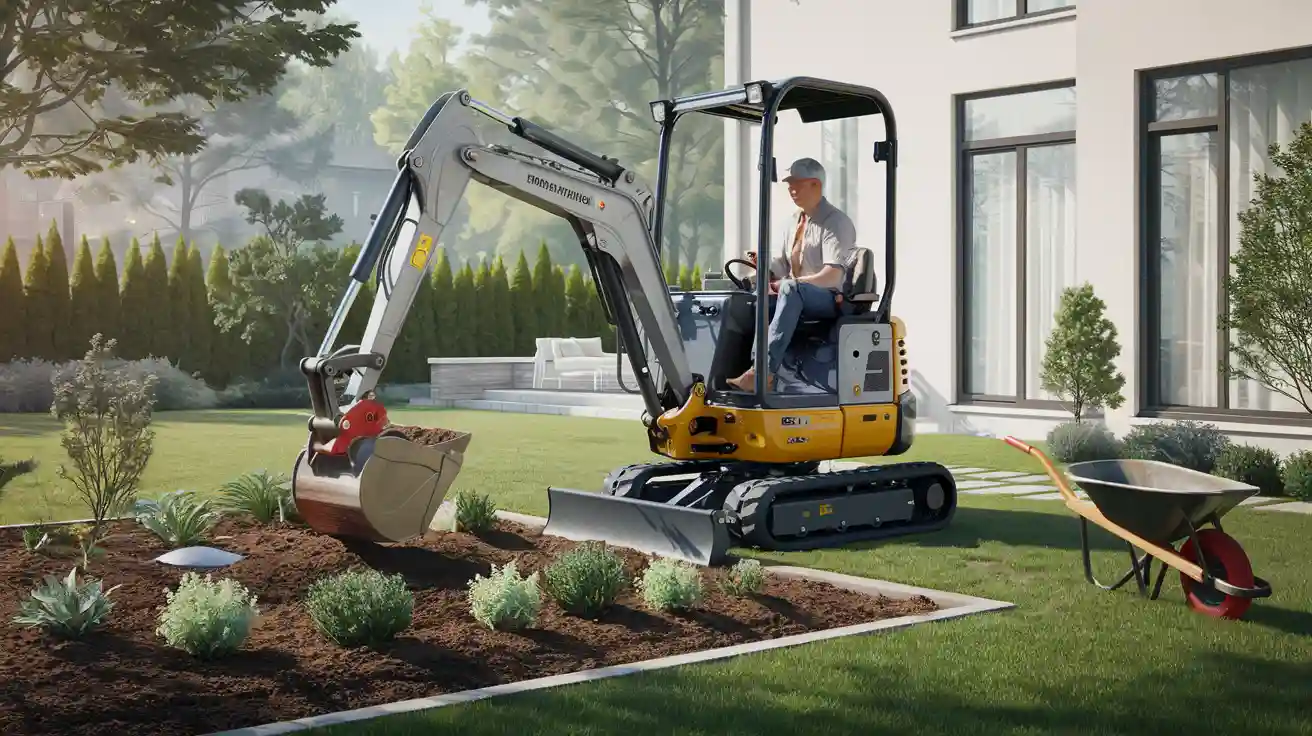
You can transform your yard with the best mini excavator for landscaping. Many outdoor jobs become easier, such as digging trenches, planting, leveling ground, and creating patios. DeepKron provides excellent machines suitable for both beginners and experts. If you need additional assistance, you can rent or hire a professional. Here are some common outdoor tasks:
Site preparation
Trenching
Planting
Hardscaping
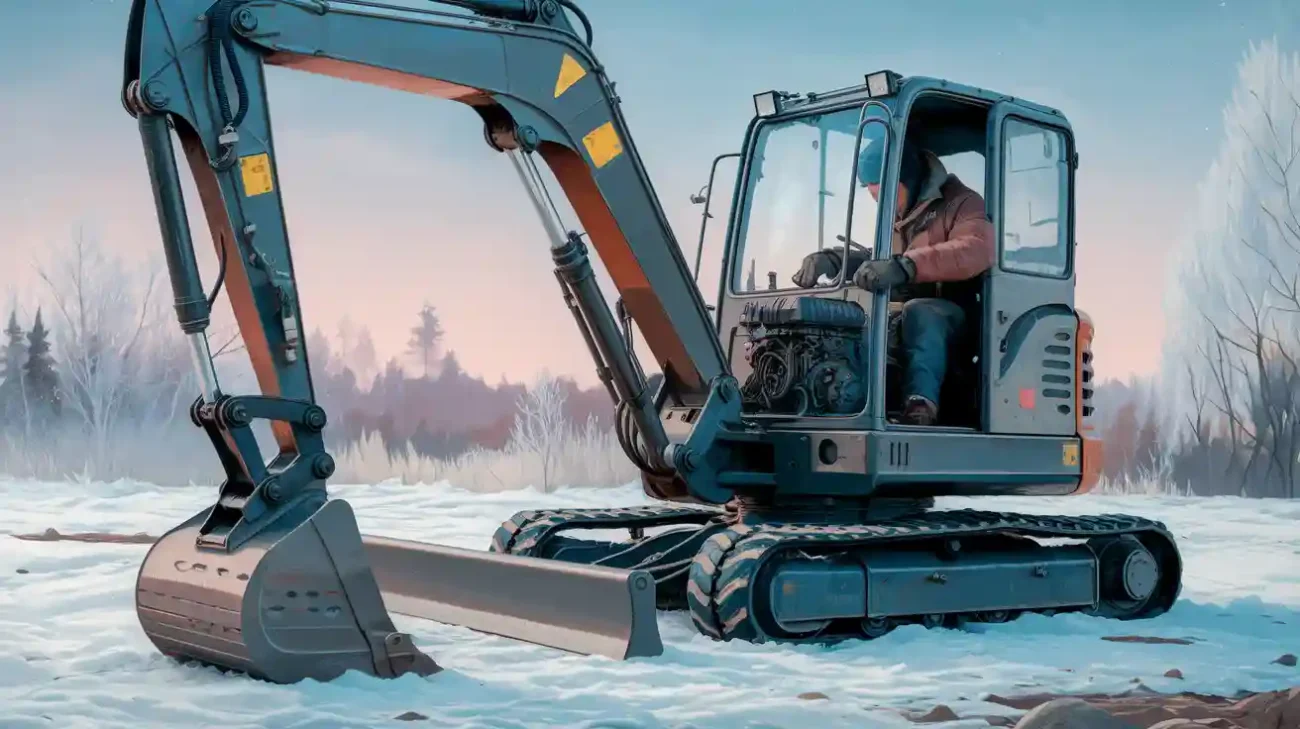
Maintenance like mulching and snow removal
Safety is crucial! Be aware of these considerations when using a mini excavator outdoors:
Safety Incident | Description |
|---|---|
Falling Loads | Objects can fall when you clear debris. |
Cave-Ins | Soil can collapse when you dig. |
Underground Utilities | Be cautious of gas, water, and power lines. |
Toxic Air | Damaged gas lines can make the air hazardous. |
Moving Equipment | Exercise caution when moving machinery. |
Employee Falls | Individuals can slip on debris or equipment. |
Unstable Structures | Excavating can damage nearby buildings. |
You can receive training if you wish to learn more. Landscaping professionals and homeowners seek the best mini excavator for outdoor projects. You will discover tips that assist homeowners in completing outdoor work with ease.
Preparation
Site Assessment
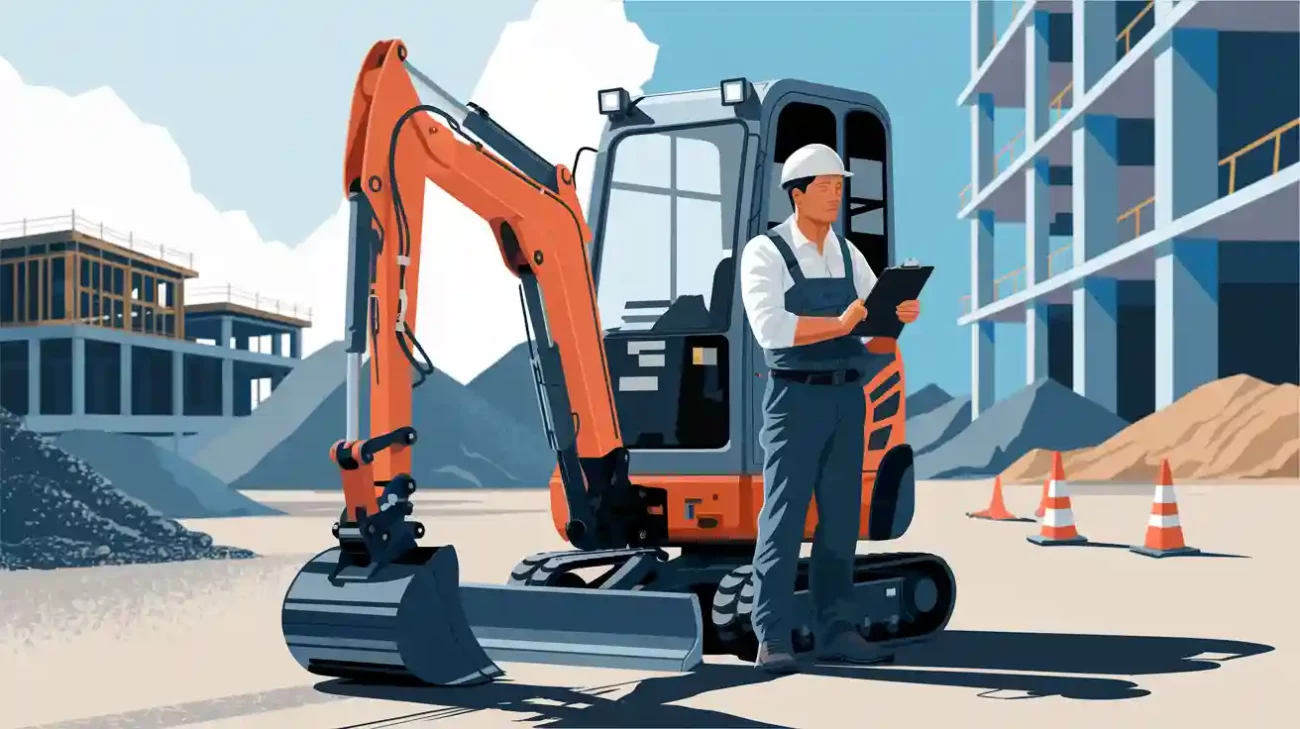
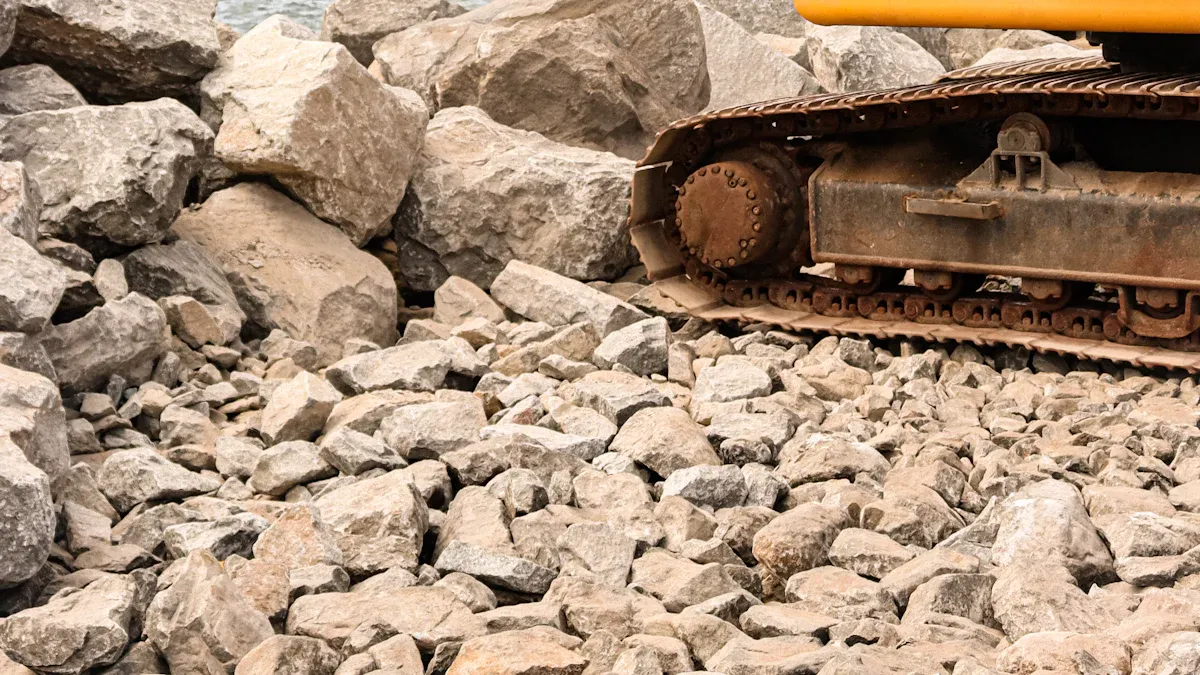
Before you start any landscaping projects, you need to check your yard carefully. Walk around and look for hazards like rocks, tree roots, or uneven ground. You want to spot anything that could get in the way of your mini excavator. Always wear your safety gear—hard hat, gloves, and boots. Make sure you know how to use your mini excavator before you turn it on. If you are new, read the manual and get familiar with the controls. Scan the area for obstacles and keep the work zone clear. This helps you stay safe and work faster.
Tip: Keep three points of contact when you get in or out of your mini excavator. This helps you avoid slips and falls.
Marking Project Areas
Now, it’s time to mark the spots where you plan to work. Use spray paint or flags to outline where you want to dig, grade, or plant. Mark high and low spots so you know where to level the ground. This step makes your landscaping projects much easier. You can also use your mini excavator to clear away bushes, small trees, and stumps. Removing debris first gives you a clean slate for your best mini excavator for landscaping to do its job.
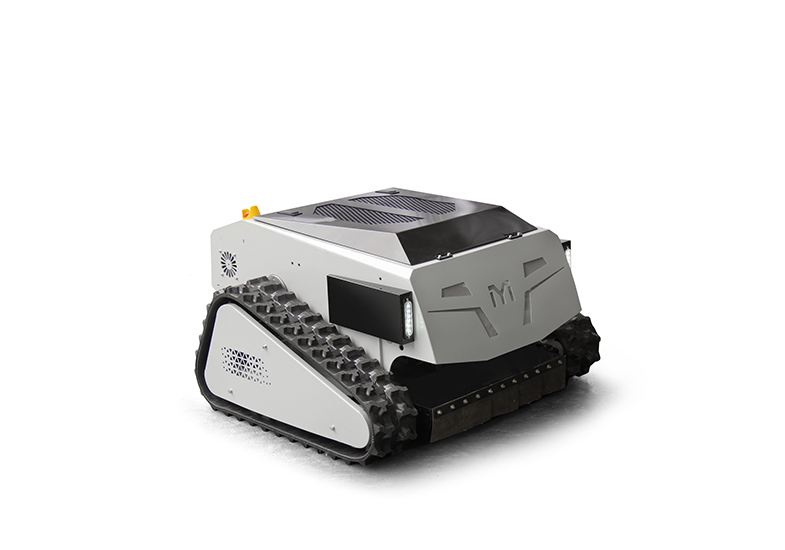
Best Mini Excavator for Landscaping
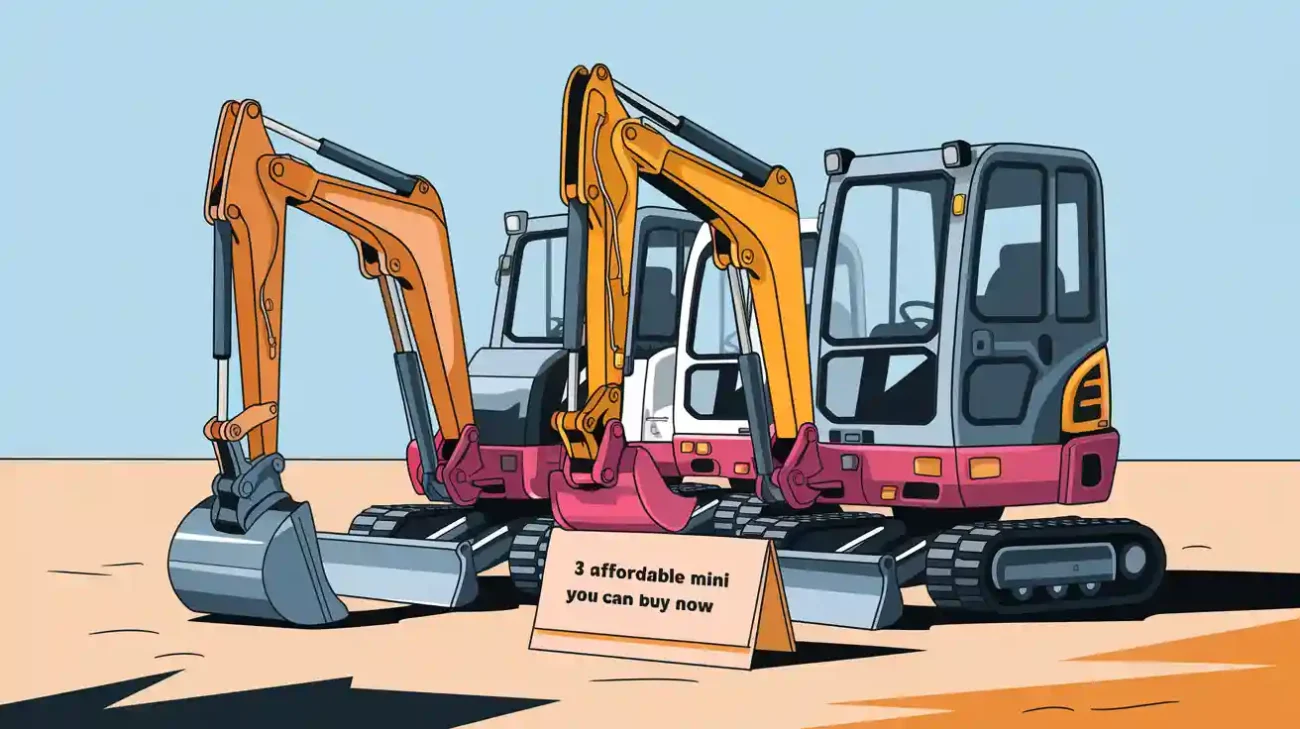
Choosing the best mini excavator for landscaping can make a big difference. Look for mini excavators that fit into tight spaces and handle different attachments. You want power and efficiency, but also comfort for long days. DeepKron stands out for its reliable machines and strong customer support. Many users say DeepKron offers better value than other brands. Their mini excavators come with smart features that help you finish landscaping projects with ease. If you want the best mini excavator for landscaping, DeepKron is a top choice for homeowners and pros alike.
Mini Excavator Operating Tips
Pre-Operation Inspection
Start by checking your mini excavator before you use it. This helps keep you safe and makes sure the machine works well. Walk around and look for warning signs or broken glass. Check for leaks under the machine. Look at the tracks and undercarriage to see if they are okay. Make sure the engine oil, transmission fluid, and coolant are full. Check the seatbelt and roll-over protection system. If you find a problem, fix it before you start.
Here’s a table to help you remember what to check:
Safety Check | Description |
|---|---|
Walk Around Inspection | Look for warning signs and the capacity plate. |
Tracks, Undercarriage | Make sure they are not damaged. |
Cab Glass | Check for cracks or broken spots. |
Engine | Look at oil level and check for leaks. |
Transmission | Check oil and look for leaks. |
Engine Belts | See if they are tight and not worn out. |
Air Cleaner | Check the indicator and clean or change it. |
Radiator | Make sure coolant is full and not leaking. |
Hydraulic Tank | Check oil and look for leaks. |
Fuel Tank | Make sure it is full and not leaking. |
ROPS | Look for any damage. |
Seatbelt | Make sure it works right. |
Look around your work area for anything dangerous. Wear your safety gear and make sure all parts are attached tightly. Clean the windows and fix the mirrors so you can see well. These tips help you avoid mistakes like skipping checks or forgetting safety tests. Always put safety first.
Throttle and Controls
Check the throttle and controls before you move the mini excavator. Make sure everything works smoothly. Look at the fluid levels like hydraulic fluid, engine oil, coolant, and fuel. Check the tracks to see if they are tight and clean. Look at the bucket and other parts for damage. Start the mini excavator and move each lever to test the controls. If something feels wrong, stop and fix it.
Here is a simple checklist:
Look at all fluid levels.
Check tracks for tightness and dirt.
Look at the bucket and other parts.
Test every control to see if it works.
Put on your safety gear.
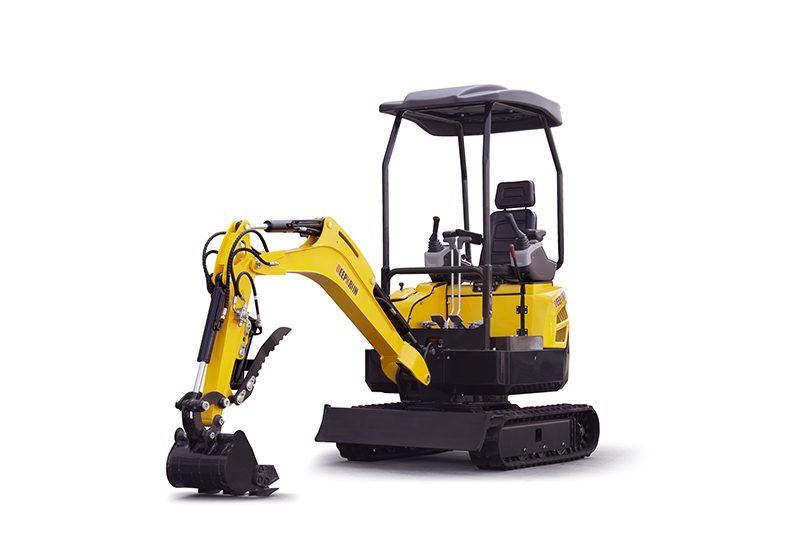
DeepKron makes this easy with simple joystick controls. You can learn fast, even if you are new. The DK16P model lets you move the arm, boom, and bucket easily. You will feel sure of yourself when working in small spaces.
Positioning Attachments
Picking and using attachments is important. Use buckets for digging and grading. Use augers to drill holes. Grapples help you move rocks or logs. Rakes clear away debris. Plate compactors get the soil ready for planting. Thumbs help you grab and move things.
Try these steps for better results:
Pick attachments that fit your main jobs.
Make sure each attachment matches your mini excavator’s size and power.
Rent special attachments if you only need them once.
Use grading buckets when the soil is wet for faster work.
Always make sure attachments are tight before you start.
Contractors say the right attachment can save lots of time. DeepKron has many attachments that fit small spaces. Safety features like automatic shut-off, roll-over protection, and alarms help keep you safe. These tips help you avoid problems like overloading or using the wrong digging method.
Tip: Always check that attachments are tight before you use them. Loose attachments can cause accidents and slow you down.
When you use these tips, your landscaping project is safer and easier. You learn new ways to work and avoid mistakes. DeepKron’s easy-to-use features help you get more done with less effort.
How to Use a Mini Excavator
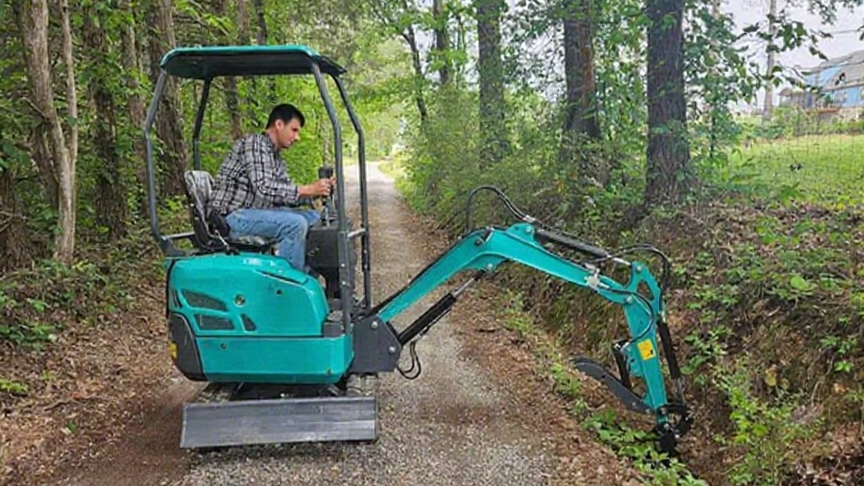
Grading and Slope
You want your yard to look smooth and drain water away from your house. Learning how to use a mini excavator for grading and slope makes this job much easier. Start by marking grade lines with stakes or flags. These lines show you where the ground should be higher or lower. Always set up reference points for the final grade. Most experts recommend a 2% slope away from buildings to keep water from pooling.
When you begin grading, move about one-third of the bucket width at a time. This helps you avoid uneven ridges. Use the blade for final passes to get a smooth finish. Attachments like grading buckets or tilt buckets work well for grading and leveling. They help you shape the soil and create gentle slopes. If you work on a hillside, position your mini excavator carefully to prevent tilting. Move slowly and steadily to control the surface and avoid sudden changes.
Tip: Use excavator depth control to keep your grading accurate and reduce mistakes.
Here’s a quick list to help you remember how to use a mini excavator for grading and slope:
Mark grade lines and set reference points.
Move one-third bucket width at a time.
Use the blade for smooth finishing.
Attach a grading bucket or tilt bucket for better results.
Position the mini excavator properly on slopes.
Move slowly and use depth control.
Grading and leveling with a mini excavator gives you a yard that looks professional and drains well. You can use these steps for pathway and patio construction too.
Digging Techniques
You can tackle many landscaping jobs when you know how to use a mini excavator and the right digging techniques. Whether you want to plant trees, build a pond, or prepare for a new patio, you need to dig with care and precision.
Let’s look at some efficient digging techniques for residential landscaping:
Create a level and even terrain for your yard.
Prepare the ground for patios, walkways, or lawns with precise control.
Shape and excavate for water features like ponds and waterfalls.
Here’s a table that shows how to use a mini excavator for different digging jobs:
Technique | Application | Efficiency Level |
|---|---|---|
Essential for laying pipes and ensuring proper water management | High | |
Creating holes for planting | Ensures appropriate depth and width for trees and shrubs | High |
Leveling terrain | Prepares ground for patios, walkways, or lawns with precision control | High |
Shaping water features | Allows for detailed excavation of ponds, waterfalls, and streams | High |
You can dig narrow and deep trenches for pipes, create holes for trees, and shape water features with your mini excavator. Always check the soil and adjust your digging techniques for the best results. Move the bucket slowly and keep an eye on the depth. If you want to avoid mistakes, use attachments designed for specific tasks.
Note: Mini excavators let you dig with accuracy, so your landscaping projects look neat and professional.
Trenching and Filling
Trenching is a common job in landscaping. You might need to lay pipes, install cables, or build garden beds. Knowing how to use a mini excavator for digging a trench and filling it back in saves you time and effort.
Follow these steps for safe and efficient trenching and filling:
Check the site for underground pipelines and hazards.
Clear the area and level the ground along the trench path.
Inspect your mini excavator, including fuel, oil, and controls.
Mark the trench line and set the dimensions.
Change to a bucket designed for trenching.
Align the mini excavator with the marked line.
Perform a trial dig to test depth and adjust as needed.
Excavate layer by layer to prevent collapse.
Keep the trench straight by following your guide line.
Trim slopes and level the bottom for a clean finish.
Park the mini excavator and clean up the site when you finish.
Safety matters when you work around trenches. Make sure trench walls are benched to prevent cave-ins. Shore the walls or use trench boxes for extra protection. Inspect the trench after rain or bad weather. Put up barriers and signs to keep people safe. Store materials at least two feet from the edge. Always check for utility lines before you start.
Safety Alert: Proper ventilation keeps the air safe in deep trenches. Watch out for mobile equipment and keep your work area clear.
Learning how to use a mini excavator for trenching and filling helps you finish landscaping projects quickly and safely. You can build garden beds, lay pipes, or install cables with confidence.
Maintenance
Daily Checks
Taking care of your mini excavator every day keeps it running strong. You should always start with a quick walk-around. Look for leaks, loose parts, or anything that seems off. Check the track tension. If the tracks are too tight or too loose, you might have problems later. Clean the undercarriage to get rid of mud and debris. This helps you spot damage early and keeps your machine light.
Excess buildup of mud, dirt, and debris leads to quicker components’ wear and additional weight burden on the equipment. Cleaning helps identify emerging damage early.
Here’s a simple checklist to follow each day:
Check fluid levels for engine oil, hydraulic oil, and coolant.
Inspect track tension and look for undercarriage damage.
Look at bucket teeth and attachments for wear.
Grease all pivot points and pins.
Make sure lights and safety features work.
Maintenance Check | Description |
|---|---|
Visual Inspection | Look for leaks or damage. |
Tracks and Tires | Check tension and pressure. |
Hydraulic System | Inspect hoses for wear. |
Cleaning | Remove debris from grilles and radiators. |
Lubrication | Grease moving parts. |
DeepKron machines stand out for their durability. You spend less time fixing and more time working.
Fluid and Filter Care
You need to keep fluids and filters in top shape. Always check fluids at the start of your day. Look at the engine oil, hydraulic fluid, and coolant. If you see low levels, top them up right away. Inspect the air filter indicator. Change the air filter when it shows restriction. Replace return filters and fuel filters every 250 hours.
Inspect air intake for damage or loose parts.
Change suction strainers once a year.
Use only high-quality filters.
Keeping the radiator and oil cooler clean is important. Remove any debris so your machine does not overheat. DeepKron recommends checking coolant every 8-10 hours and cleaning radiator fins often. This routine keeps your mini excavator running smoothly and helps you avoid big repairs.
You will feel ready for landscaping if you use these tips. First, learn how the mini excavator controls work. Always do safety checks before you start. You can use the mini excavator in small spaces. It works well and saves time. DeepKron machines are strong and easy to use. You can change tools fast. The company helps you if you need support.
Benefit | Description |
|---|---|
Precision | You get neat and professional results each time. |
Maneuverability |
Pick DeepKron for your next landscaping job and do well!