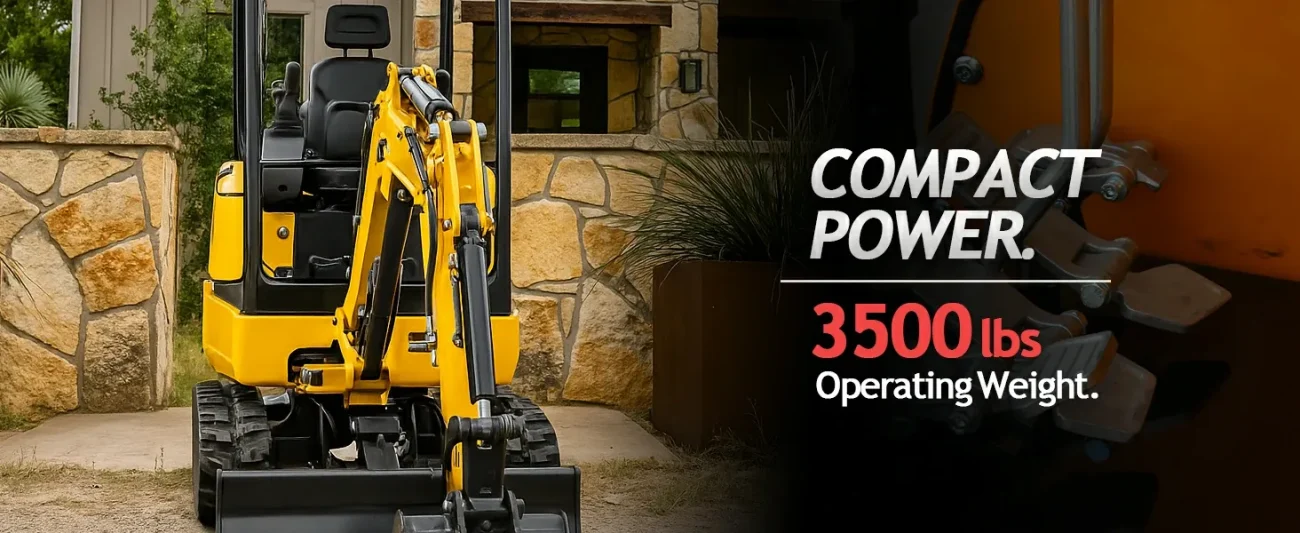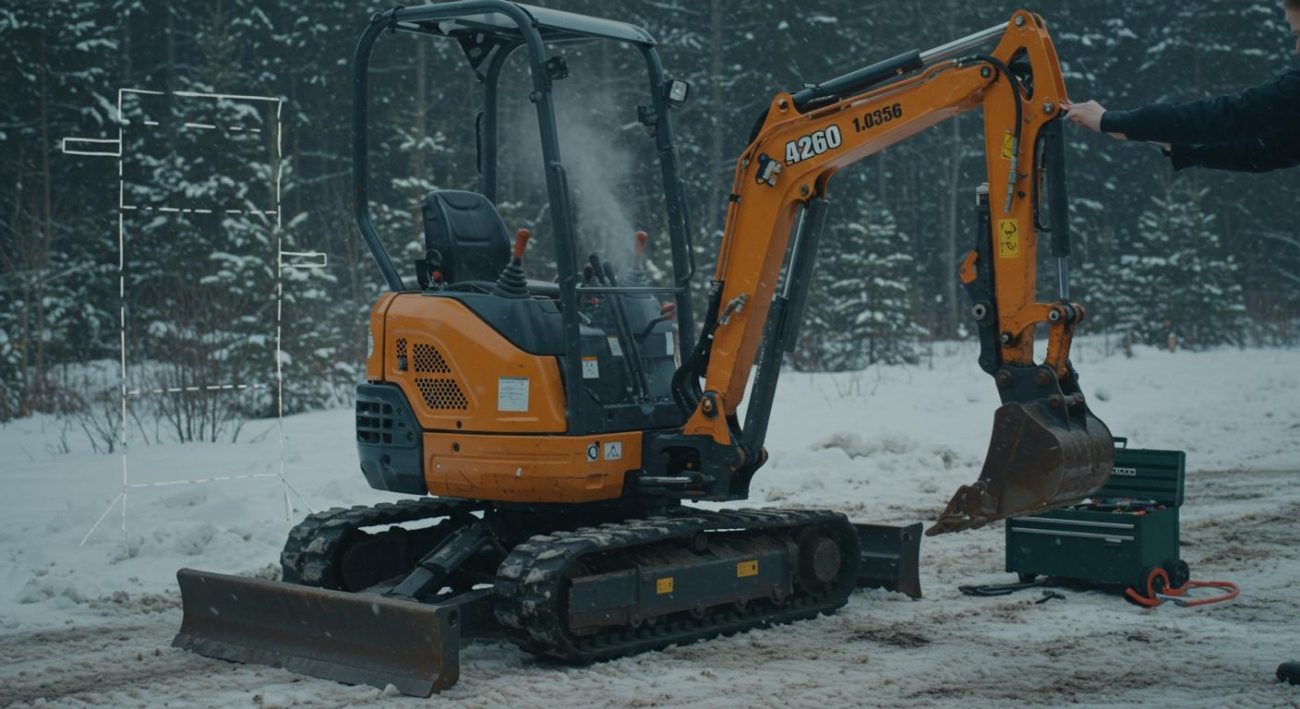

A good hydraulic thumb helps you do more jobs with your mini excavator. Checking it every day keeps the thumb safe and ready to use. The DeepKorn DK16P Mini Excavator has a tough thumb attachment. This makes your machine able to do more things. You need to look at each thumb attachment for damage or leaks. Taking care of hydraulic attachments stops sudden problems and keeps your equipment working well. If you see damage, plan to replace it so accidents do not happen. Pick a thumb attachment with a strong hydraulic system. This gives you better control and keeps you safe on every job.
Key Takeaways
Check your mini excavator’s hydraulic thumb every day. Look for leaks, loose bolts, or damage early. This helps keep your machine safe.
Clean and grease all moving parts often. This stops wear and helps the thumb attachment work smoothly.
Follow safety steps when you remove or put on the thumb. Release hydraulic pressure and wear protective gear.
Use real DeepKron parts for repairs and replacements. This makes sure parts fit well, last longer, and get better support.
Keep a maintenance log and follow the maker’s schedule. This helps you avoid expensive breakdowns and makes your equipment last longer.
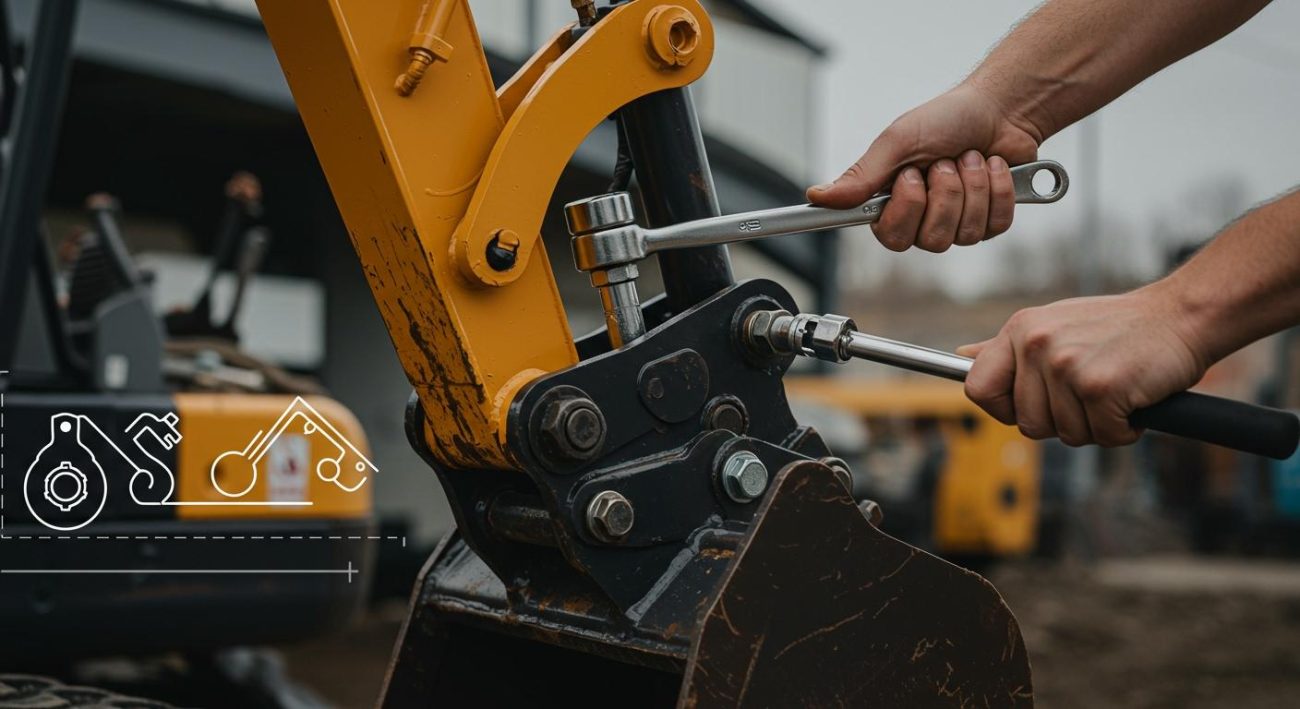
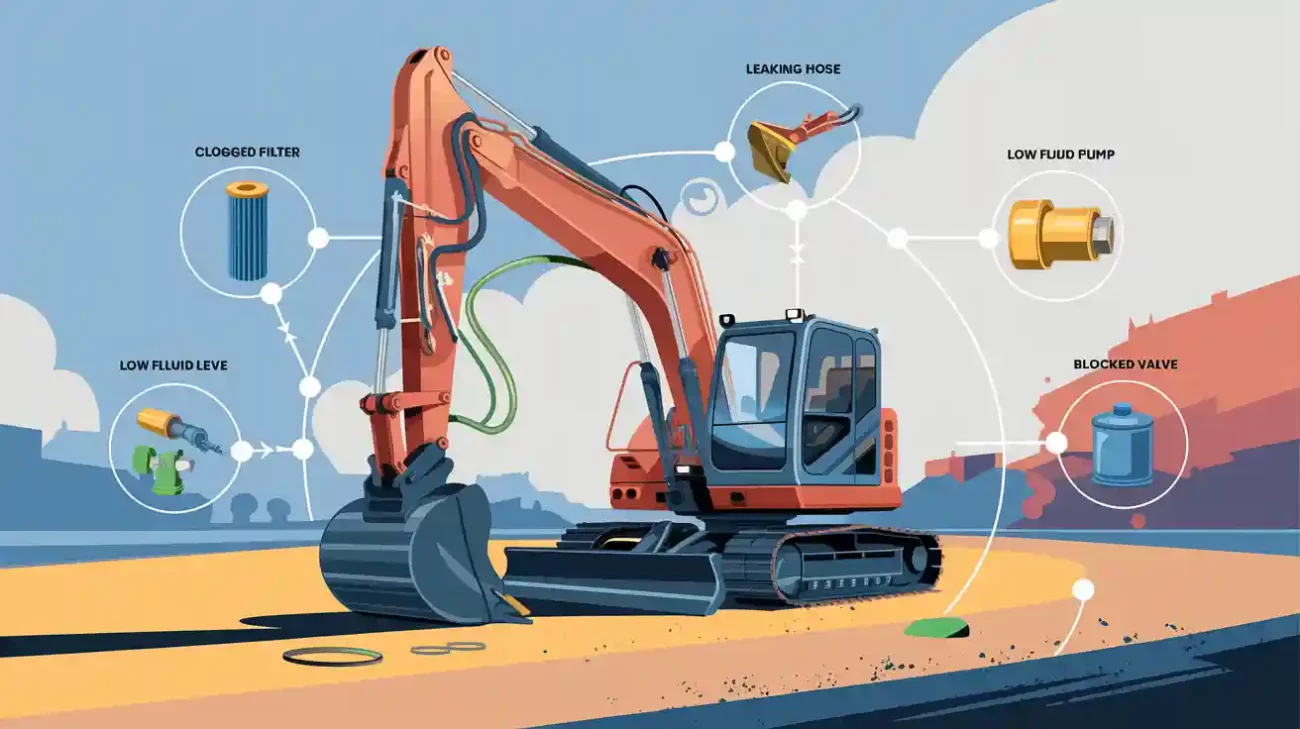
Hydraulic Thumb Inspection

DeepKron is known for making tough mini excavator thumb attachments. Regular inspection keeps your equipment safe and working well. Checking every day helps you find problems early. This stops sudden breakdowns. When you inspect the thumb attachment, you protect your machine and your crew.
Visual Inspection Steps
Begin by looking closely at the whole mini excavator thumb attachment. Use a checklist so you do not forget any parts. Follow these steps:
Look for dents, bends, or cracks on the thumb and frame.
Check for hydraulic leaks near the cylinder, hoses, and fittings.
Make sure all bolts and pins are tight.
Check if the thumb lines up with the bucket. Bad alignment can wear parts unevenly.
Clean dirt and debris from pins, bushings, and moving parts.
Look at the thumb teeth for damage or erosion.
Clean the attachment after each use to stop rust and contamination.
Tip: Write down each inspection. This helps you see wear and plan fixes before things get worse.
Groups like OSHA and manufacturers say you should check hydraulic attachments every day. You should also do a deeper inspection every 300 to 500 hours. Look for wear, damage, and make sure connections are tight.
Checking Hydraulic Lines and Cylinders
The hydraulic system is very important for your mini excavator thumb attachment. You need to check it carefully to stop leaks and failures. Do these steps:
Clean the hydraulic area with degreaser and air. This helps you spot leaks.
Look at cylinder seals, hose connections, and pump housing for leaks.
Run the excavator and watch for new hydraulic fluid. This shows where leaks start.
Tighten loose fittings with a torque wrench. Follow the manufacturer’s instructions.
If a fitting keeps leaking, check the threads and change any bad washers.
For cylinder seal leaks, let out the hydraulic pressure before taking it apart.
Use plastic tools to remove old seals so you do not scratch the cylinder.
Change damaged hydraulic lines with new hoses that match the right size and pressure.
Check the hydraulic fluid level and look for fluid under the machine.
Listen for odd noises like squealing or hissing. These can mean pressure problems.
Note: Fix even small leaks right away. This stops bigger problems and keeps your hydraulic thumb and other attachments safe.
Identifying Wear and Damage
You can stop most failures by finding wear and damage early. Look for these signs:
Soft spots on hoses, which can mean inside damage.
Worn or loose pins, bushings, and couplers.
Odd wear patterns or scalloping on thumb teeth.
Rust or corrosion on the frame or hydraulic parts.
Bad alignment between the thumb and bucket.
Any strange movement or play in the attachment when you use it.
Checking every day helps you find these problems before they get worse. Good hose routing, tight fittings, and regular greasing help your mini excavator thumb attachment last longer. Always follow the maintenance schedule in your manual. Check DeepKron’s guidelines for the best results.
Remember: Keeping your mini excavator thumb attachment clean and checked means safer work and longer equipment life.
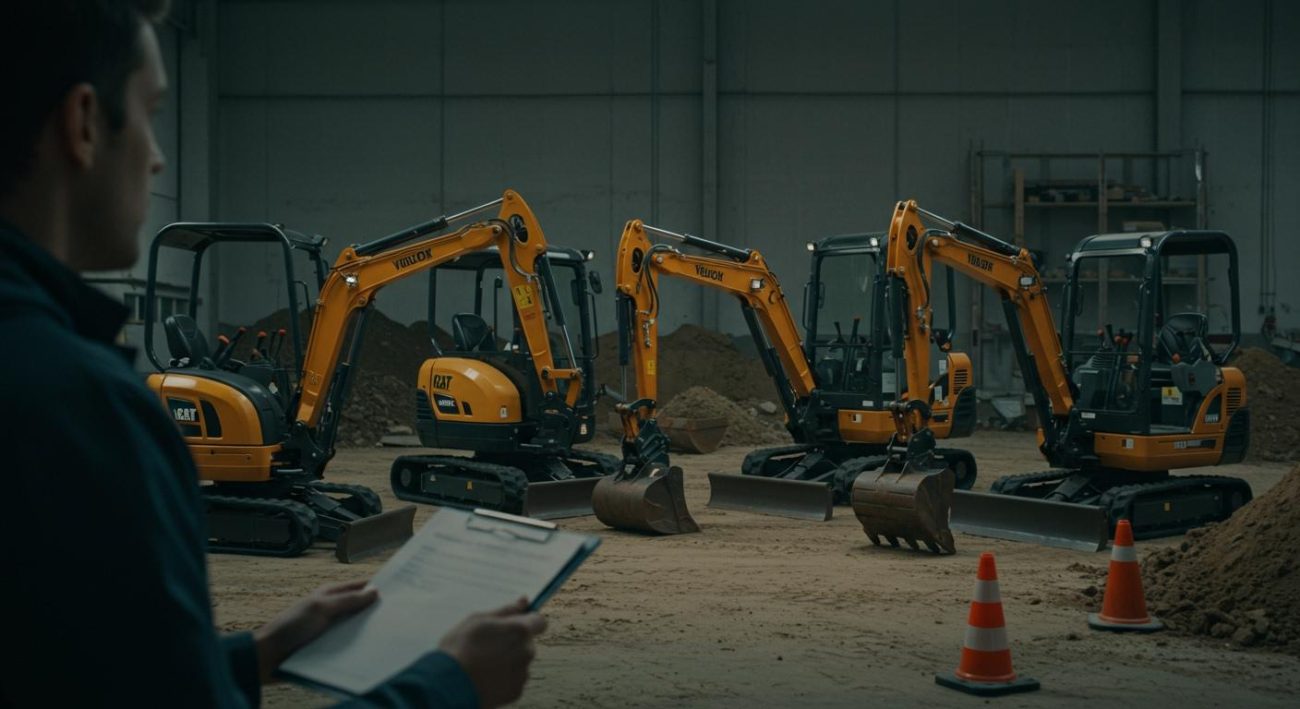
Mini Excavator Thumb Attachment Replacement
Changing a mini excavator thumb attachment keeps your machine safe. It also helps you get ready for hard jobs. DeepKron makes attachments that fit many machines. This means you can find the right thumb for your mini excavator. Always use the manufacturer’s instructions for installation. This part will show you how to get ready, take off the old thumb, put on the new one, and test it.
Preparation and Safety
Get your workspace ready before you start. Follow all safety steps. Park the mini excavator on flat, solid ground. Turn off the engine and lower the boom and bucket. This keeps the machine from moving. Release hydraulic pressure as your manual says. Wear gloves, safety glasses, and steel-toed boots to stay safe.
Tip: Clean the spot where you will put the new thumb. Take off dirt, grease, paint, and rust. This helps you get a strong weld or tight fit for the new attachment.
Look at the hydraulic lines and thumb attachment for damage. Fix any problems before you begin. Use the lift chart decals in the cab to check safe loads. Never use the thumb to pry or lift things that are too heavy. Grease all spots and check hydraulic pressure before you start.
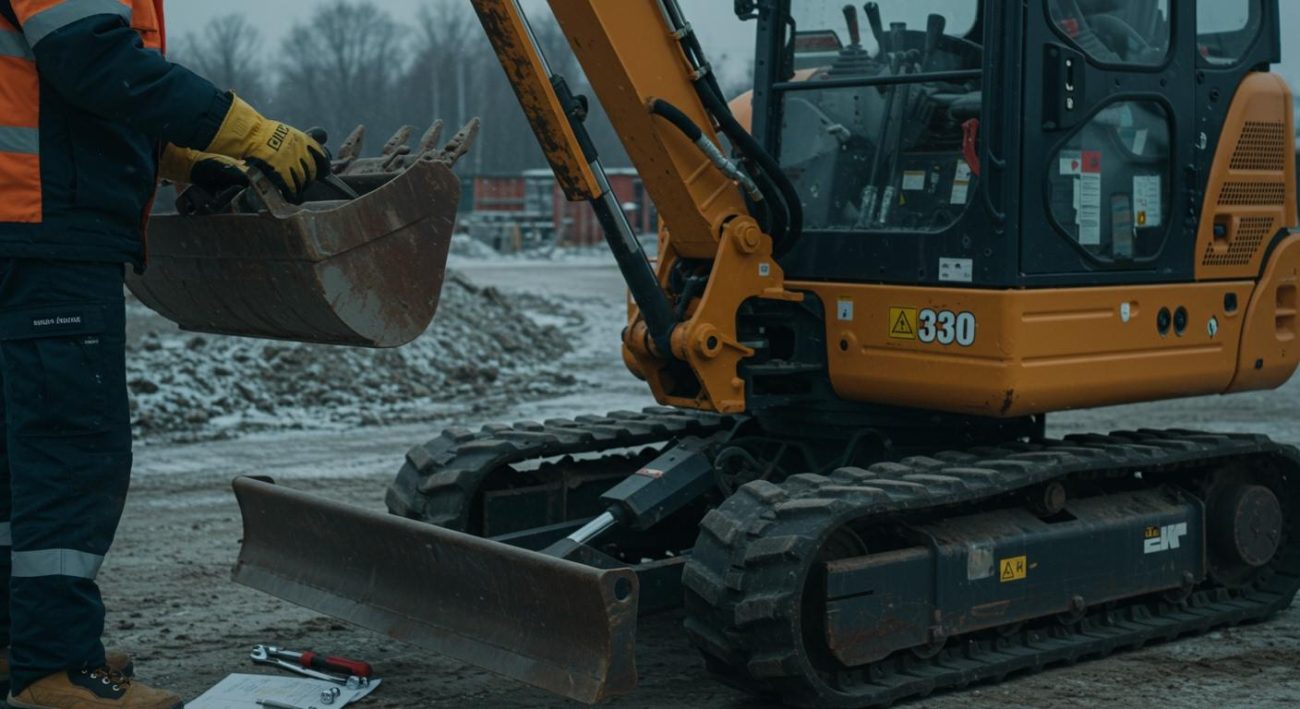
Removing the Old Thumb
You need the right tools to take off the old thumb safely. Use hand tools like drills, wrenches, and pin punches. Follow these steps for installation:
Take out the locking pins from the old mini excavator thumb attachment.
Unhook the hydraulic hoses from the thumb. Watch for leaks and keep the area clean.
Check the mounting plate and arm for wear or damage.
If the thumb is welded, use a grinder to cut the welds. Be careful not to hurt the excavator arm.
Clean the area again after you remove the old attachment.
Note: If you see bad hydraulic lines or worn pins, change them before you put on the new thumb.
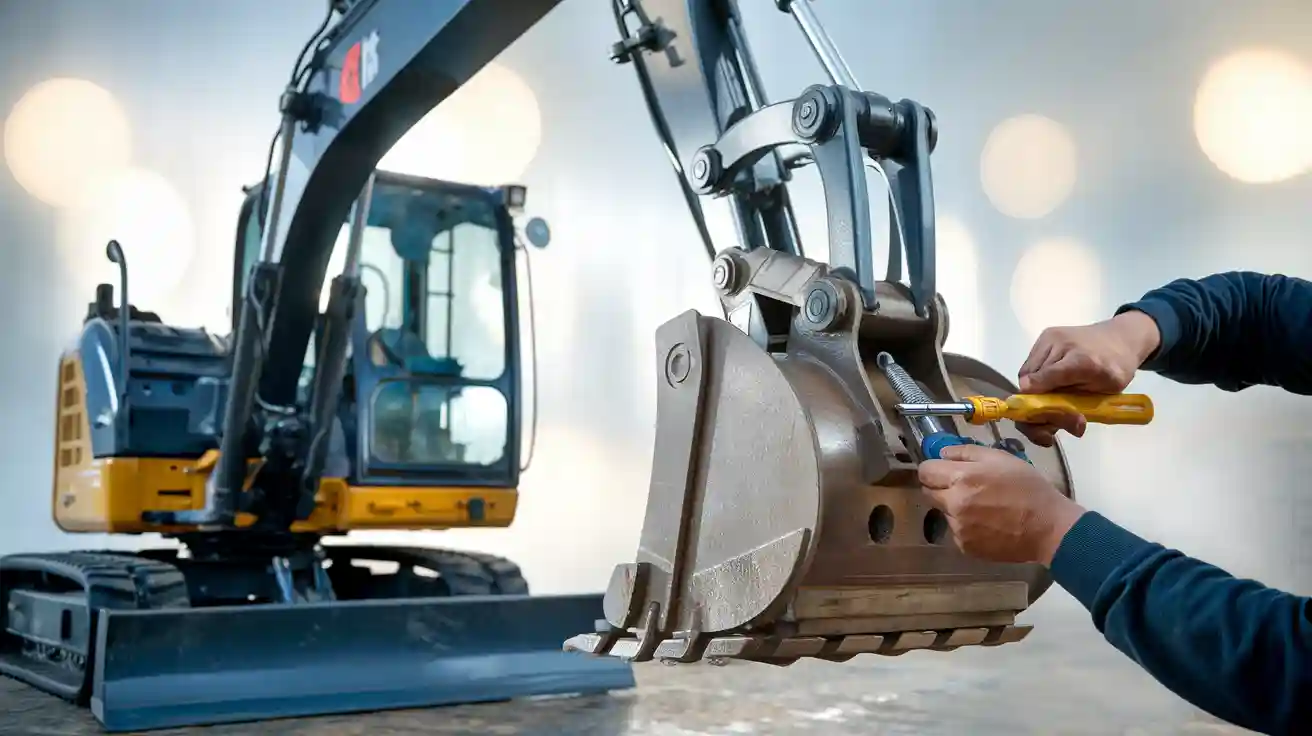
Installing the New Hydraulic Thumb
DeepKron’s mini excavator thumb attachments come with easy-to-follow instructions. Start by lining up the new thumb with the bucket. Make sure the tines fit together for good gripping. Put the locking pins in the excavator arm’s pin holes. If you need to weld, tack weld first to check the fit.
Connect the hydraulic hoses to the right places. Make sure the hoses do not twist or rub on moving parts. Set the hydraulic pressure between 2500 and 3000 PSI, as told in the instructions. Check for leaks before you use the new thumb.
Tip: Grease all pivot points and main pins. This stops wear and helps the thumb move well.
Check the attachment for tight bolts, secure pins, and clean hydraulic connections. If you are not sure about welding or hydraulic work, ask a pro for help.
Testing After Installation
Testing the new mini excavator thumb attachment is important for safety. Run the excavator and move the thumb all the way open and closed. Watch for smooth movement and listen for strange sounds. Check the hydraulic lines for leaks or pressure drops. Make sure the thumb grabs and lets go of things as it should.
Some problems after installation are electrical faults, valve blockages, and pinched hoses. Check wiring and test switches and fuses. Use a voltage tester to check power to the control valve solenoid. Look for air in the hydraulic lines and make sure fluid levels are right.
Alert: If the thumb does not work or moves slowly, turn off the engine and check the attachment. Fix leaks, wiring problems, or loose pins before you use the machine again.
Daily checks help you find problems early. Grease the attachment and look for cracks, bends, or loose bolts. Follow DeepKron’s maintenance schedule for the best results.
Fix Mini Excavator Thumb Attachment Issues
Troubleshooting Common Problems
Sometimes, your mini excavator thumb attachment may not work right. You might see hydraulic leaks, electrical faults, or the thumb not lining up. If you spot fluid under the attachment or weak movement, check for leaks fast. Tighten any loose fittings and swap out damaged hoses. For electrical problems, look at the wiring and fuses for the thumb controls. Use a voltage tester to check if power gets to the control valve. If the thumb does not match up with the bucket, look at the pins and bushings for wear. Change any worn parts so the attachment works well.
Tip: Always use real DeepKron parts for repairs. This keeps your mini excavator thumb attachment safe and working right.
If you need more help, DeepKron has support on their website. You can find guides, diagrams, and ways to contact experts for advice.
Control Valve and Hydraulic Fluid Checks
You should check the control valve and hydraulic fluid often. This helps keep your attachment working its best. Follow these steps:
Park your mini excavator on flat ground and lower all attachments.
Turn off the engine and take out the key.
Find the hydraulic fluid reservoir near the pump.
Open the cap and use the dipstick to check the fluid.
Make sure the fluid is between the “Full” and “Low” marks.
Add the right hydraulic fluid if needed, then let it settle.
Look at the fluid for a milky color, dark shade, or metal bits. These mean you should change the fluid.
Check the control valve for leaks or damage. Make sure all connections are tight.
Do these checks every week, but daily checks help you find problems sooner. Clean oil and tight connections help your mini excavator thumb attachment last longer.
When to Seek Professional Help
Sometimes, you cannot fix mini excavator thumb attachment problems by yourself. If you see big hydraulic leaks, broken control valves, or major electrical faults, call a pro. DeepKron’s service team can help with hard repairs and answer your questions. Using real parts and expert help keeps your attachment safe and makes it last longer.
Alert: Never ignore big leaks or strange noises from your attachment. Acting fast stops bigger problems and keeps your jobsite safe.
Maintenance Tips for Hydraulic Thumb
Daily and Weekly Care
Taking care of your mini excavator every day helps it work well. You should check the hydraulic thumb often. This helps you find problems early. It also stops expensive repairs. Each morning, look at the thumb and where it connects. Watch for leaks or loose bolts. See if anything looks worn out. Check the hydraulic fluid level. Add more fluid if it is low. Make sure all safety features are working before you start.
Here is a table to help you remember your daily and weekly tasks:
Frequency | Maintenance Task Description |
|---|---|
Daily | Check hydraulic fluid levels and top up if necessary. |
Daily | Inspect the thumb and attachment for leaks or damage. |
Daily | Make sure all bolts and pins are tight. |
Weekly | Clean filters and remove dirt from the attachment. |
Weekly | Examine hoses, seals, and connectors for wear. |
Tip: Keep a log for maintenance. Write down each check and fix. This helps you know how your thumb and attachment are doing over time.
Preventive Measures for Longevity
You can help your hydraulic thumb last longer by following easy steps. Always use the thumb the right way. Do not lift things that are too heavy. Only use the thumb for jobs it was made for. Before you start, check if the thumb lines up with the bucket. Change the hydraulic pressure to fit what you are moving.
Follow these preventive measures:
Check the thumb before you use it.
Put grease on all moving parts and grease spots.
Move the thumb slowly and do not jerk it.
Set things down gently to avoid damage.
Teach everyone how to use the thumb and attachment the right way.
Clean the attachment after using it to stop rust and buildup.
Note: DeepKron says you should do regular maintenance and follow the service times in your manual. This keeps your thumb and attachment safe and working well.
Doing regular checks on your hydraulic thumb and attachment stops breakdowns. It also keeps your mini excavator safe. When you follow these tips, you protect your equipment and get the best results.
Checking and changing the hydraulic thumb often keeps your mini excavator safe. Using real parts is important for your attachment. Experts say real parts fit best and stop leaks. They also help your machine last longer.
Real parts are strong and last a long time.
They help keep dirt out and lower repair costs.
You get help and a warranty, so you worry less.
DeepKron gives good quality and support for every attachment. Be careful, follow each step, and trust DeepKron for your equipment.
FAQ
How often should you inspect your hydraulic thumb?
You should inspect your hydraulic thumb every day before you start work. Regular checks help you find leaks, loose bolts, or worn parts early. This keeps your mini excavator safe and ready for any job.
What signs show your hydraulic thumb needs replacement?
Look for cracks, bent parts, leaking hydraulic lines, or loose pins. If the thumb does not move smoothly or grip well, you may need a new one. Always follow the manufacturer’s guidelines for safety.
Can you install a DeepKron thumb attachment by yourself?
You can install a DeepKron thumb if you follow the instructions and use the right tools. If you feel unsure about welding or hydraulic work, ask a professional for help. Safety always comes first.
Why should you use genuine DeepKron parts?
Genuine DeepKron parts fit your machine perfectly. They last longer and help prevent leaks or breakdowns. Using real parts also keeps your warranty valid and gives you better support from DeepKron.
What maintenance helps your hydraulic thumb last longer?
Grease all moving parts, check for leaks, and clean the attachment after each use. Keep a maintenance log. Follow DeepKron’s service schedule to make sure your thumb works well for a long time.